One thing you miss if you buy bread: the magic of yeast!
"Peace, Love, Whole Wheat" Bread
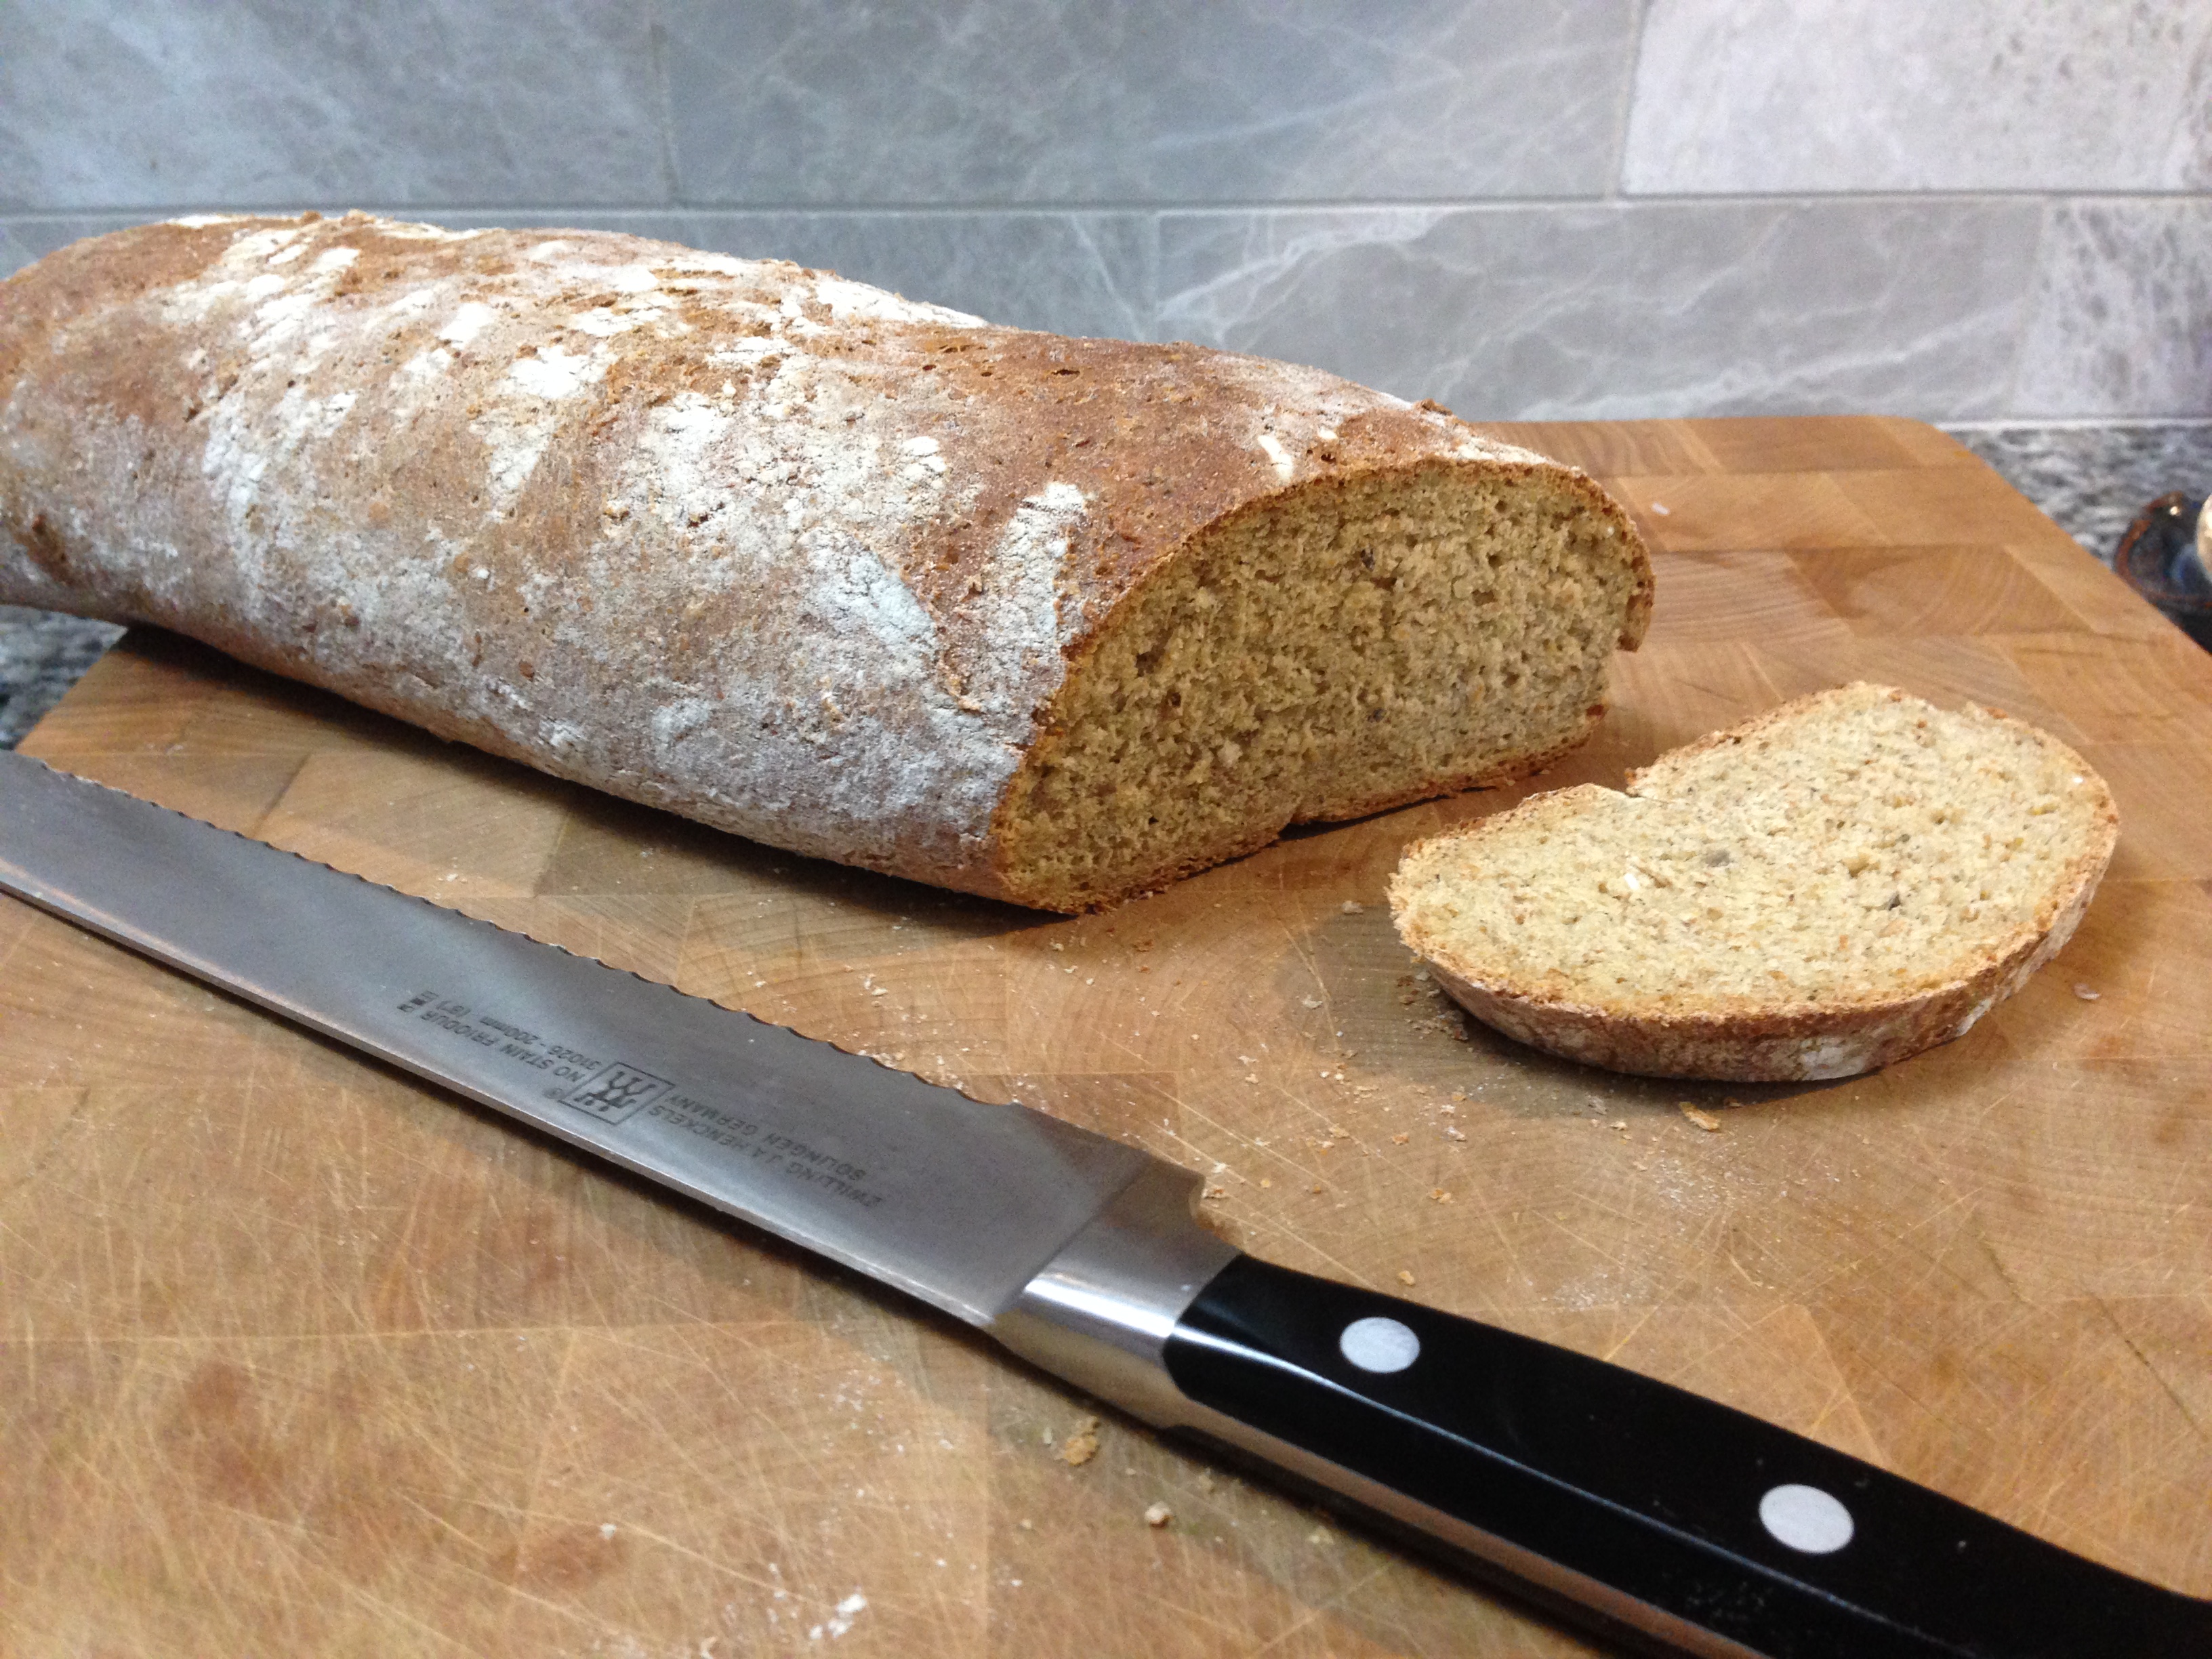
If you want variety, this is for you! This whole-wheat flour based bread is hearty, flavorful and super-healthy. Most bread recipes need to be followed exactly to get the proper rise. Not the case here! Except for the whole wheat flour, the other grains/seeds in this recipe can be substituted for each other as you please. Just make sure that whatever combination you use, the total measurement is still 1 1/2 cups. I've provided the ratio my dad likes to use for his bread, but don't be afraid to change it up!
This bread uses lots of different types of grains and seeds. These give the bread lots of texture and body. They also increase the protein and healthy fat content. By using whole grains, which have more fiber than white flour, this bread will keep you satisfied longer. So toast up a slice and enjoy!
Peace, Love, Whole Grain Bread
Ingredients
- 1 cup + 2 tbsp water, 80° F
- 1 tbsp molasses
- 1 tbsp honey
- 2 cups whole wheat flour
- 1/4 cup each: wheat bran, hemp seeds, flax meal, buckwheat, oatmeal, sunflower seeds
- 1 1/2 tsp salt
- 2 tbsp oil
- 2 tsp yeast
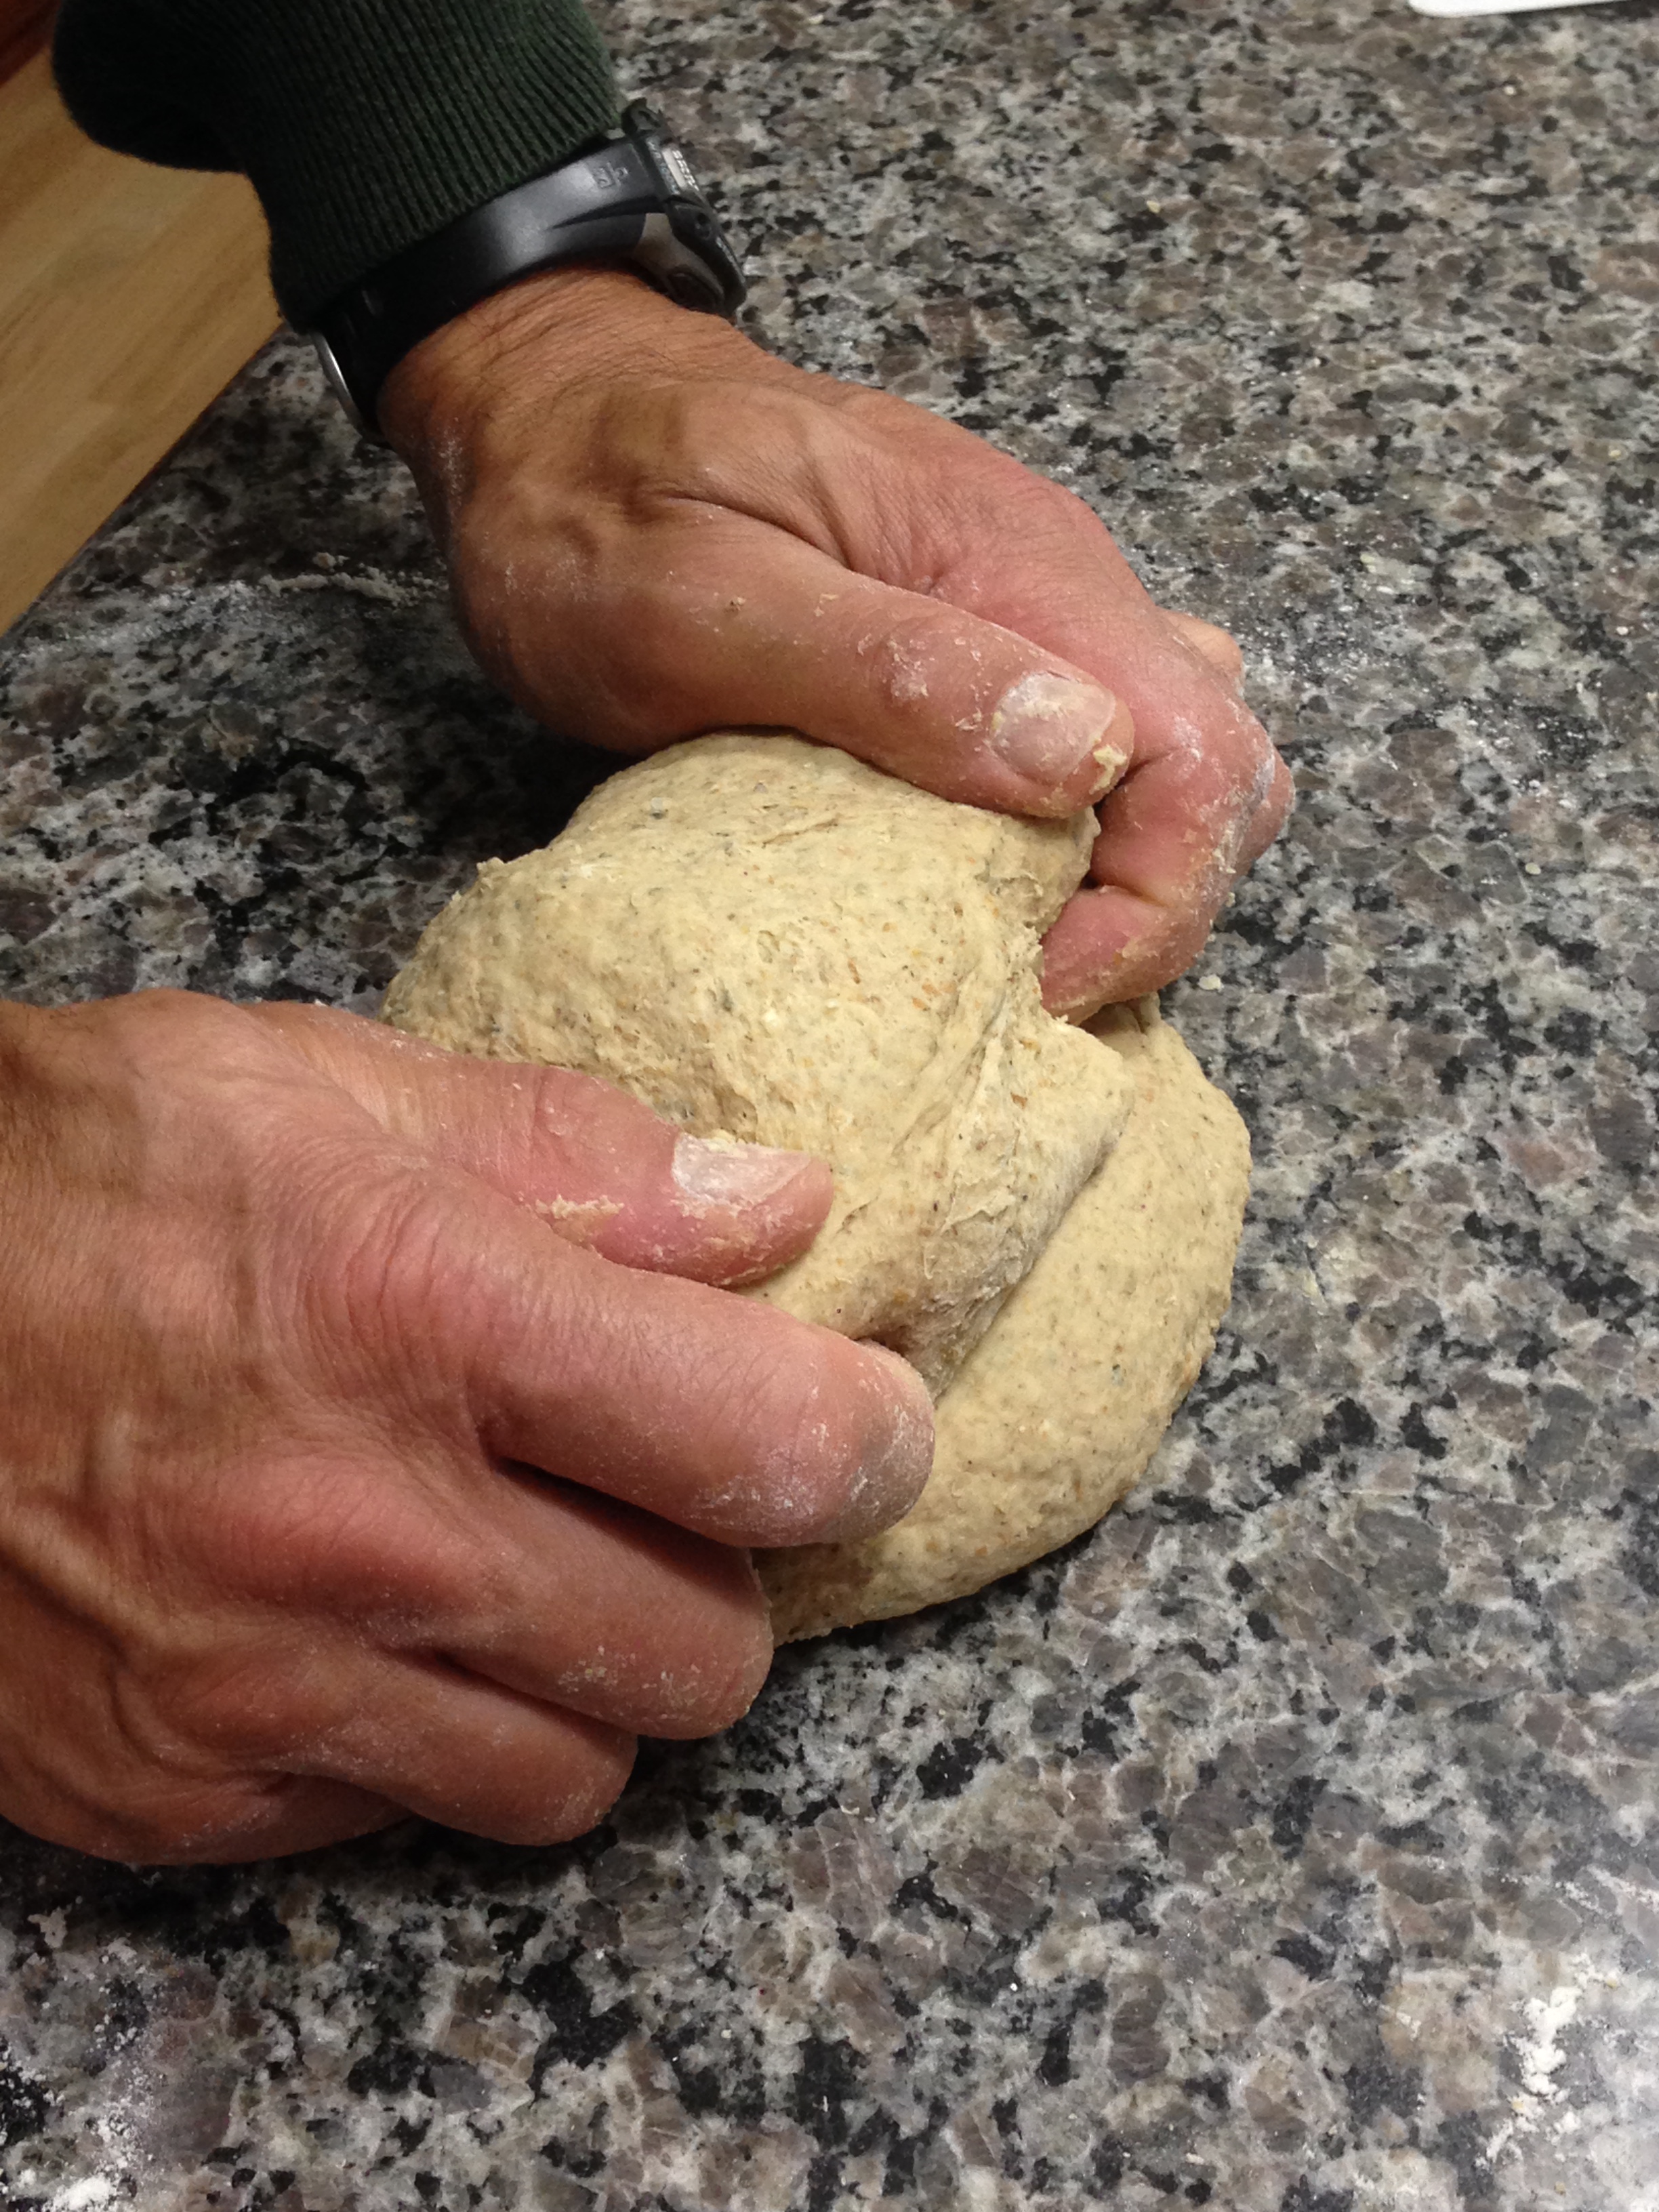
Add honey to water, and sprinkle yeast on top. Let sit for about 5 minutes to activate. Meanwhile, mix all other ingredients in a large bowl. Add yeast and water. Turn the dough out on a lightly floured surface, and with floured hands, knead. It will take about 10 minutes. Add more flour as needed. You have kneaded enough when it is only slightly sticky, and the ingredients are evenly dispersed.
Let rise for about 1 hour in a warm place.
Form the dough into the shape you want your loaf to be, and let rise for another 45 minutes.
Preheat oven to 375° F. Bake bread for about 30 minutes, or until browned. Let cool before slicing.
Super-Rise Protein Bread
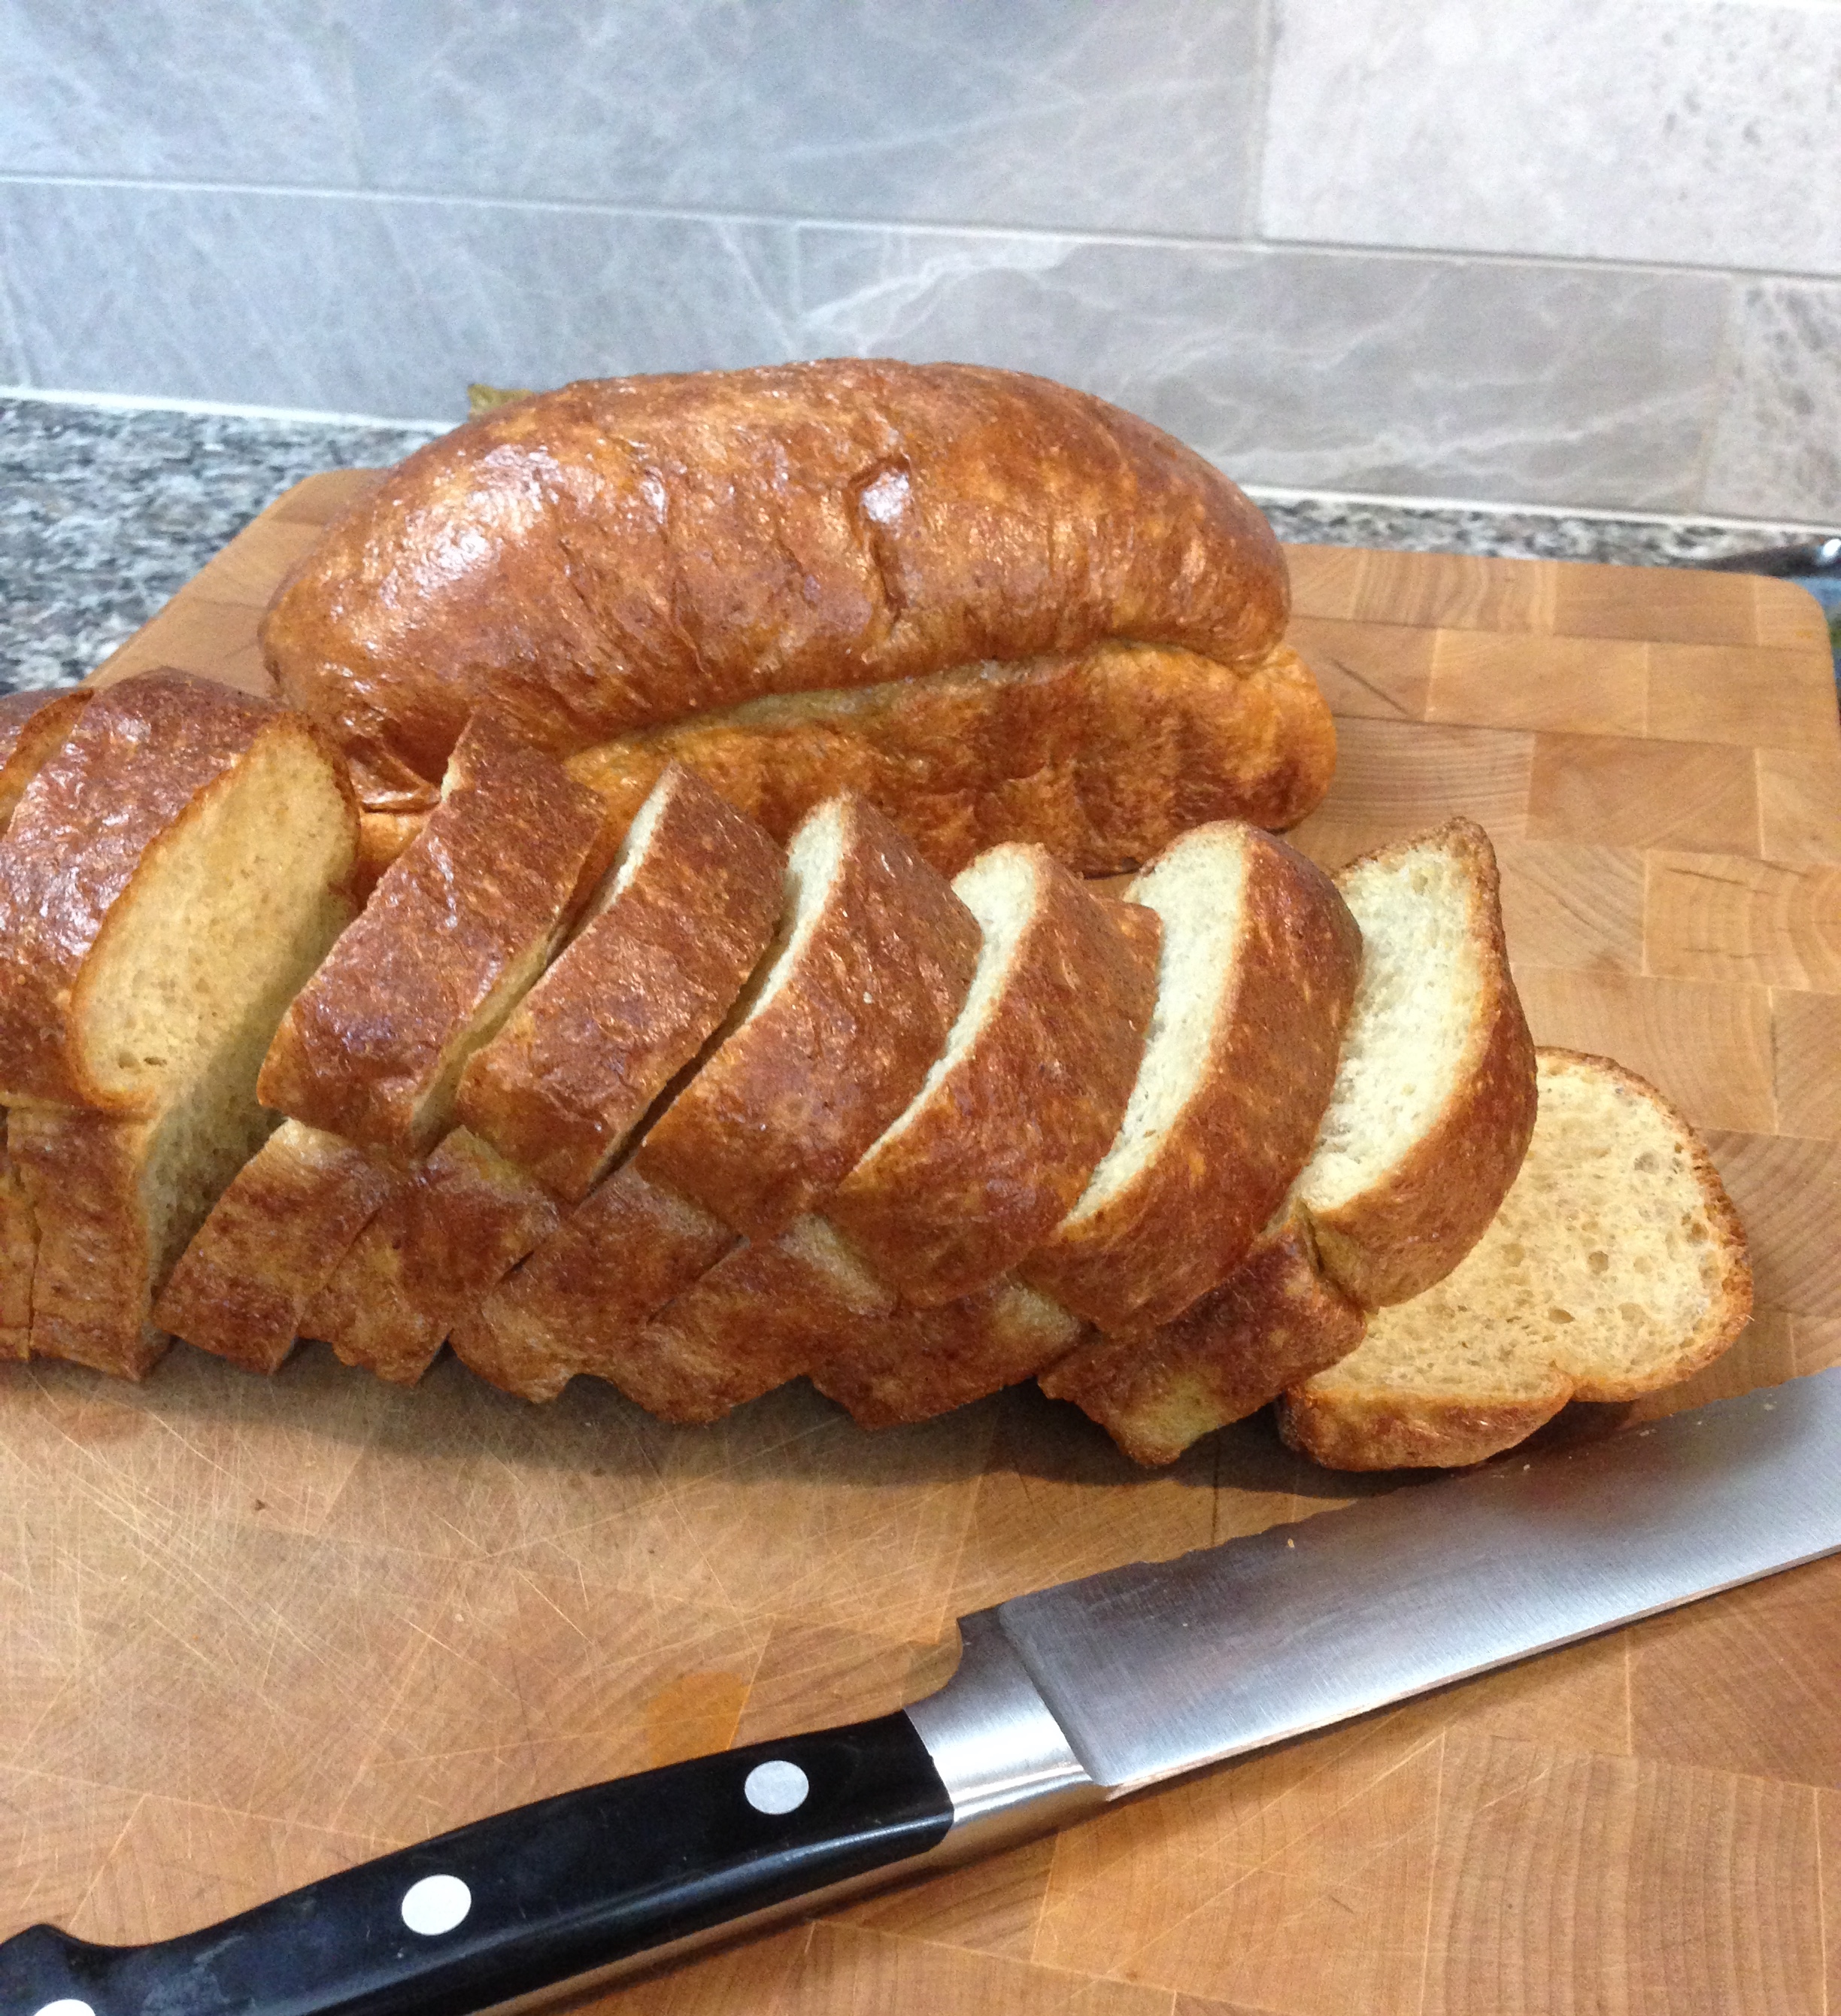
One of the reasons to bake your own bread is to get varieties that you will not find in the store. This recipe is high-protein, lower carb, and rises amazingly, making it super light and fluffy.
If you are looking for a high-protein breakfast bread, this is the recipe for you! It uses some strange ingredients, but they are affordable, and you will end with a loaf of bread unlike anything you can find in the grocery store. Vital wheat gluten is the protein from wheat flour, and gives this bread a spongy, light texture. It is high in protein and lower in carbohydrates. I use Bob's Red Mill brand.
Make sure you give this bread plenty of time to rise, and don't handle the dough too much after it begins to rise. The vital wheat gluten doesn't take well to kneading more than once, so this recipe only requires one knead, time to rise, and then baking.
Super-Rise Protein Bread
Ingredients
- 1 tbsp butter, melted and cooled
- 1/2 cup water
- 1 large egg
- 1/3 cup ground flaxseed
- 1/4 cup soy flour
- 3/4 cup vital wheat gluten
- 1 tsp sugar
- 1/4 tsp salt
- 1 tsp yeast
Bread Machine: place ingredients in the machine pan in the order specified in the manual. Put the bread machine on the dough setting, but turn it off after the first kneading cycle. Proceed to "rising".
By hand: Warm water in microwave for about 20 seconds, or until it is luke-warm. Stir in the sugar, then sprinkle the yeast on top. Let sit for 5-10 minutes, or until foamy. Mix remaining ingredients in a bowl, then add the yeast. Sprinkle a clean counter with a little soy flour, and turn out the dough. Knead the dough, adding more flour as needed, until it is well mixed and only slightly sticky. Proceed to "rising".
Rising and Baking: Split the dough into two equal parts, and place each in a 4x11 bread pan. Put in a warm place and let the bread rise for about 1 hour and 30 minutes, or until the dough fills the pan (see video for reference). Preheat the oven to 350° F, and bake the bread for 25-30 minutes, or until browned, and the loaves sound hollow when tapped.
Gluten-Free Pumpkin Scones
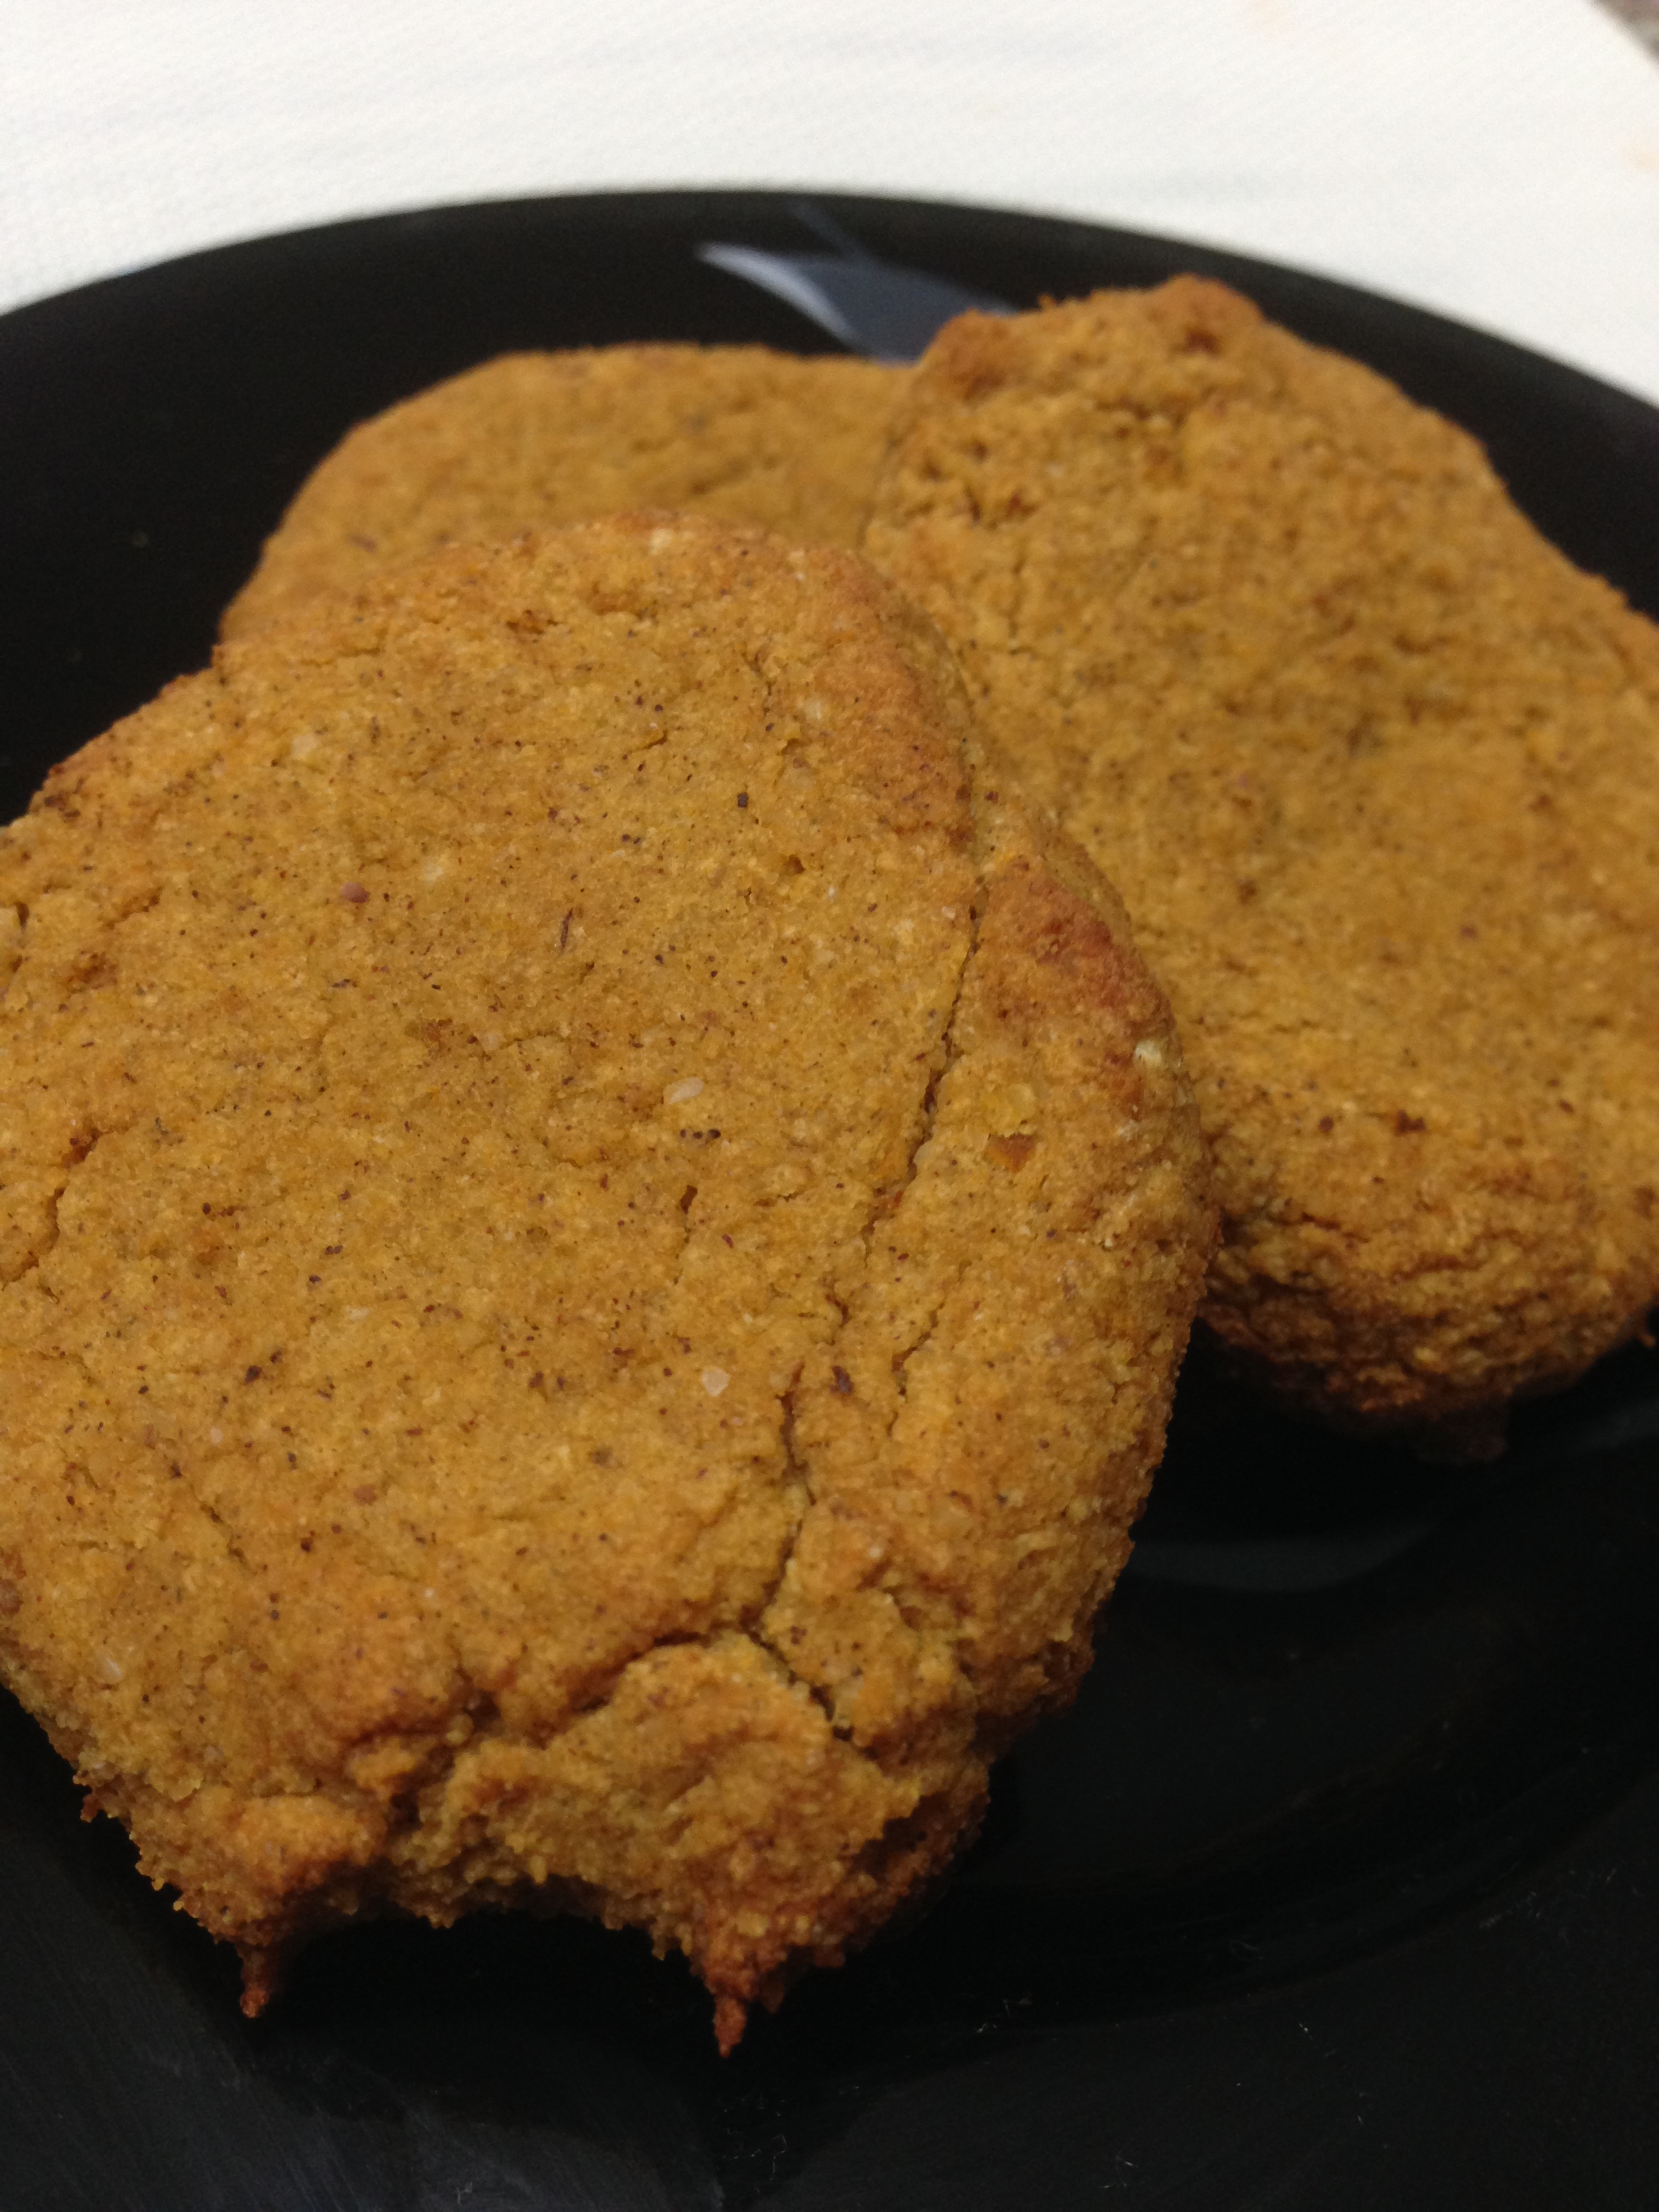
I do not eat strictly gluten-free, but I know many people do, for a variety of reasons, so I decided to include a gluten free recipe. Some people think that gluten free goods are healthier, but many times, store bought gluten-free versions of classic snacks are more expensive, nutritionally inferior, and taste like cardboard. So, I thought that I would bring you a gluten-free recipe for pumpkin scones that are healthier than gluten-containing counterparts, but also delicious! They have the great taste of pumpkin, but don't think they are just for fall. I love to eat pumpkin all year round. And don't be intimidated by the idea of scones, these are actually drop scones, so no rolling or cutting is required!
These scones are made gluten free through the use of almond and coconut flour. Most grocery stores carry these ingredients in the gluten free section or baking section. I have found that the best price is at Trader Joe's.
Enjoy these scones, even if you are not gluten-free! They are perfect with a piping hot cup of coffee or tea, in front of a roaring fire.
Gluten-Free Pumpkin Scones
Ingredients
- 1 cup almond flour
- 3 Tbsp. coconut flour
- 2 tsp. baking powder
- 1/4 cup sugar (or other granulated sweetener, such as brown sugar)
- 1 tsp pumpkin pie spice
(or use equal parts cinnamon, nutmeg, cloves and allspice) - 1/4 tsp salt
- 1/2 cup pure pumpkin
- 1 large egg
- 1 1/2 tsp vanilla extract
- 1/4 cup chopped pecans (optional)
Preheat the oven to 375° F
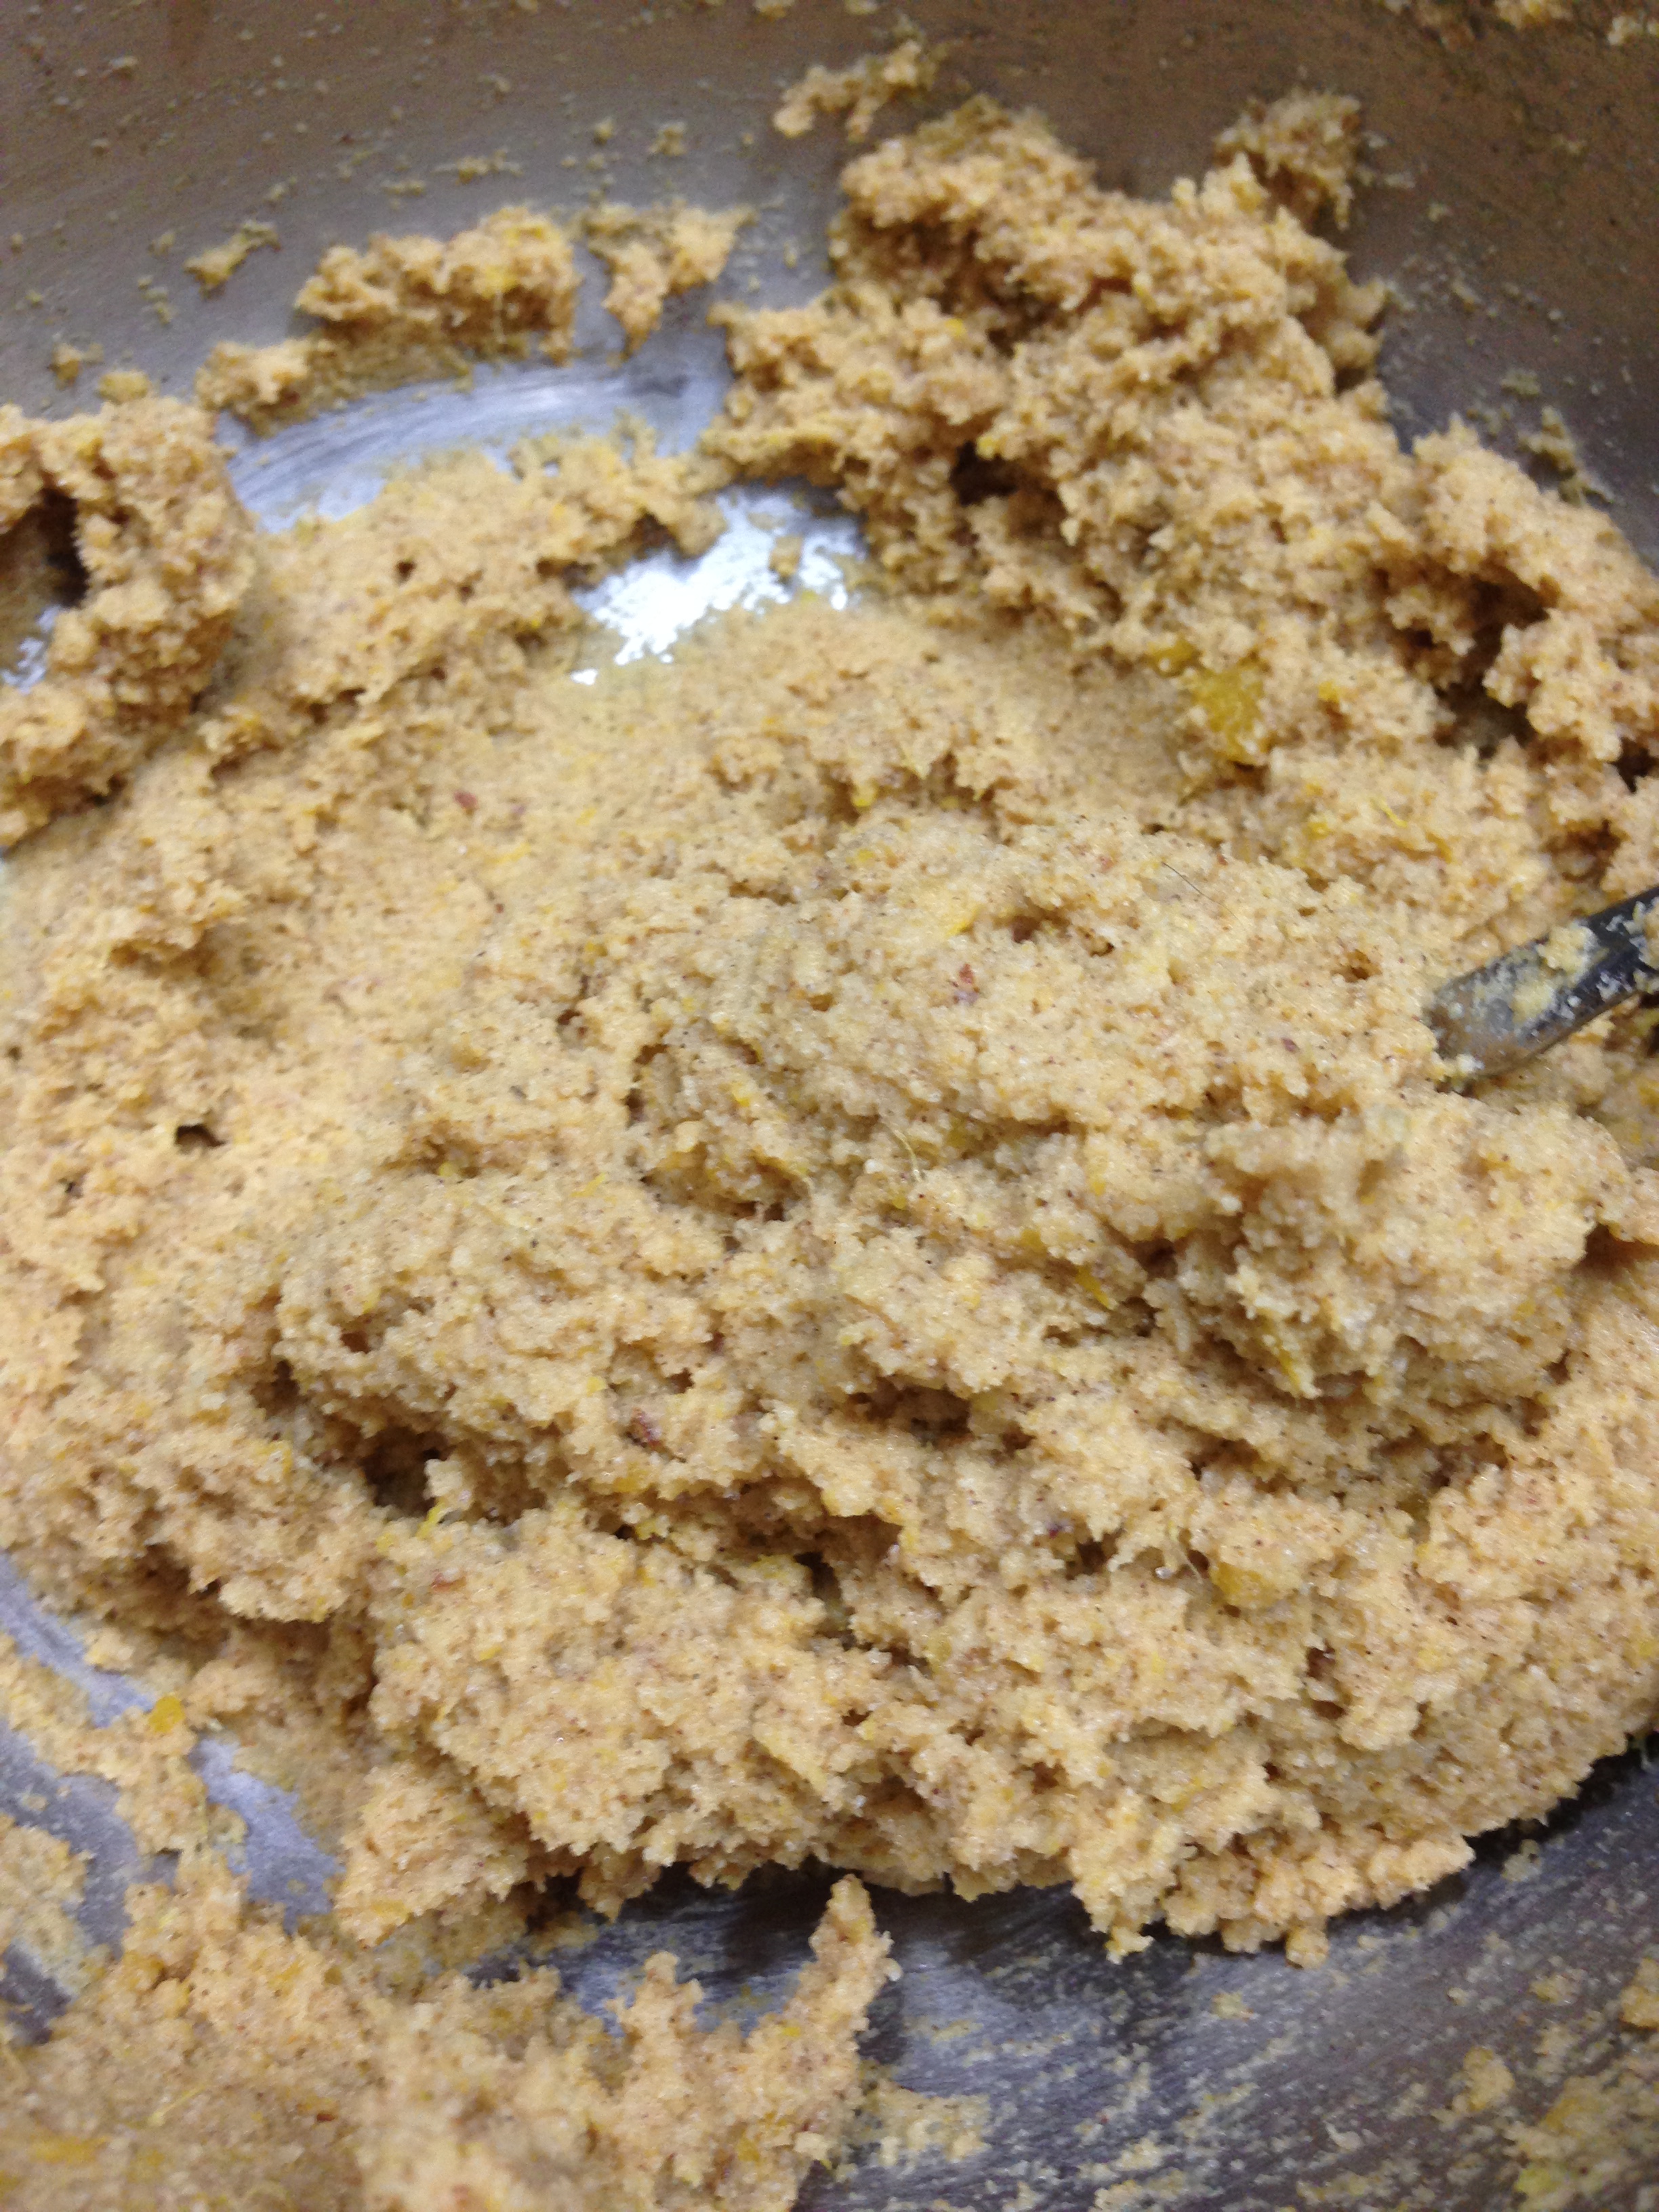
Combine the dry ingredients (through salt) in a large mixing bowl. In a smaller bowl, mix the wet ingredients until they are well combined. Pour the wet ingredients into the dry and stir them with a large spoon until a dough is formed. It will appear to be dry, but will still hold together. Stir in pecans, if using.
Drop the dough onto a greased cookie sheet. Use 2 tbsp. for small scones, or 3 tbsp. for large scones. With wet fingers, press the dough down into thick disks. Bake in the oven for 15-20 minutes, or until the scones are browned on top and have very little give when you press down on them. Remove from the pan and let cool on a rack.
Store in an airtight container for up to 3 days, or in the fridge for a week. The scones can also be frozen.
Makes 12 small scones or 8 large scones

