Remember, you can take photos in any type of camera. If you plan on using your phone, consider downloading VSCO to be able to control aspects like Exposure. If you plan on buying a camera, consider buying a DSLR. Use the following links to find out how control the different aspects of photography on different cameras:
VSCO Traditional CameraISO
In a literal sense, ISO is the camera’s sensitivity to light. Each camera has its own range of ISO with professional cameras having larger ranges. As a general rule of thumb, the lower the ISO, the better the quality of the image. A lot of a photographer’s job in using ISO is to try lowering it as much as possible without making the image too dark. Furthermore, a low ISO prevents an image from becoming grainy. This graininess will subtract from the impact your image has on the viewer. Let’s use the image below:
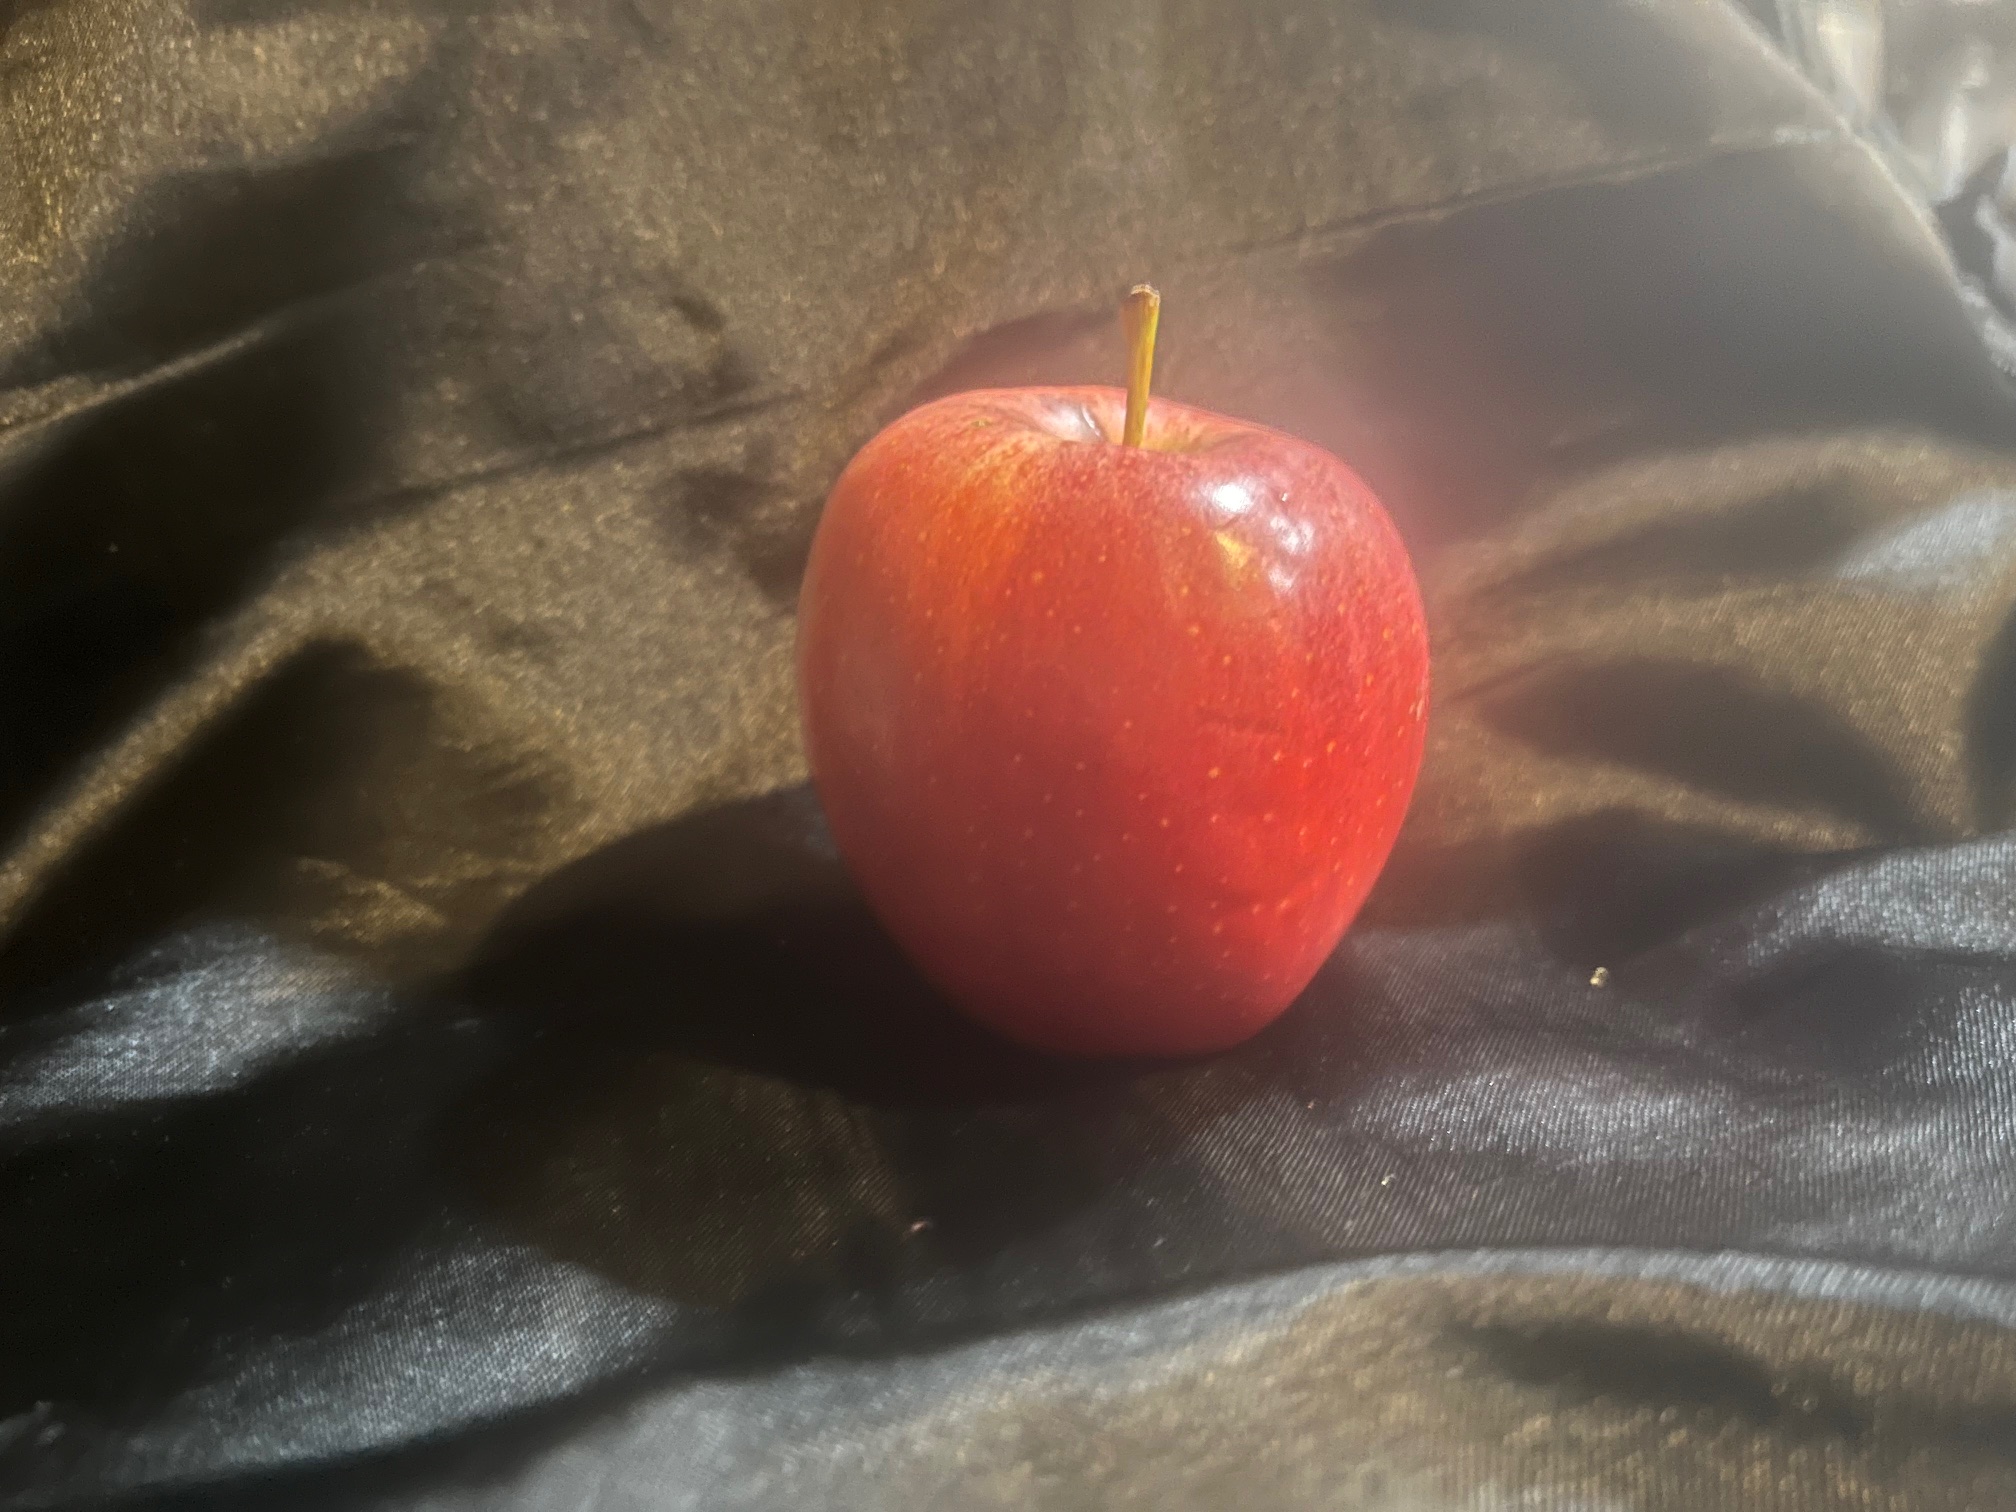
See how it is possible to notice the grains that prevent the background from being black. And we can't even see our subject properly. There is also some sort of glow coming from the apple that blurs the image. This is ‘noise’ that takes away from our main subject. Now, let’s try decreasing the ISO:
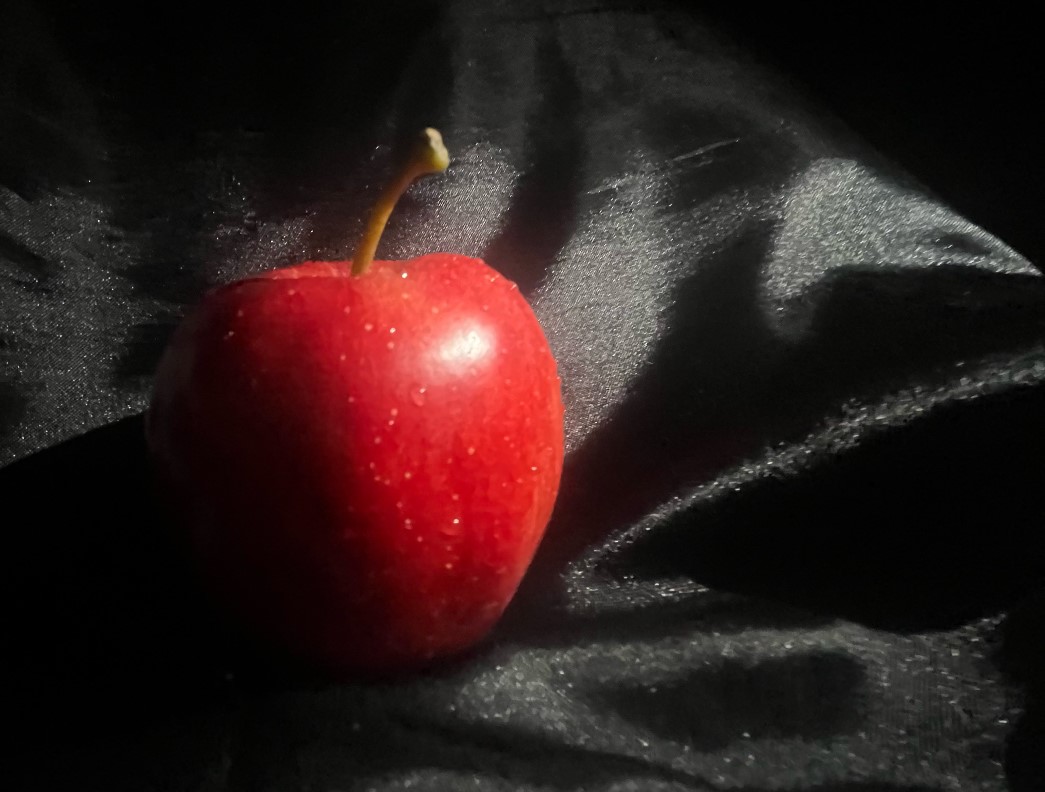
This image is much more clear, and the shadows of the apple are more vividly portrayed, allowing the reader to fully see the subject. Keeping the ISO of your image low is key to taking the perfect shot and preventing unwanted details from appearing in the image.

NOTE:
Remember, this is only a rule of thumb. It is always possible to create a great image with all kinds of ISO.
Aperture
Aperture determines the focus point of your camera’s lens. It can be used to blur out the foreground or the background to emphasize your photo’s subject. It’s measured in f- numbers where the larger the number, the smaller the camera hole. The larger the camera hole the closer your focus point is to the camera lens. It is important to make sure you are aware of your aperture settings to create the best effect and prevent distractions from ruining your photo.

NOTE:
Usually for portraits the f-numbers are smaller, and for landscapes the f-numbers are larger.
Let's use the picture below, where the subjects are the pink flowers.
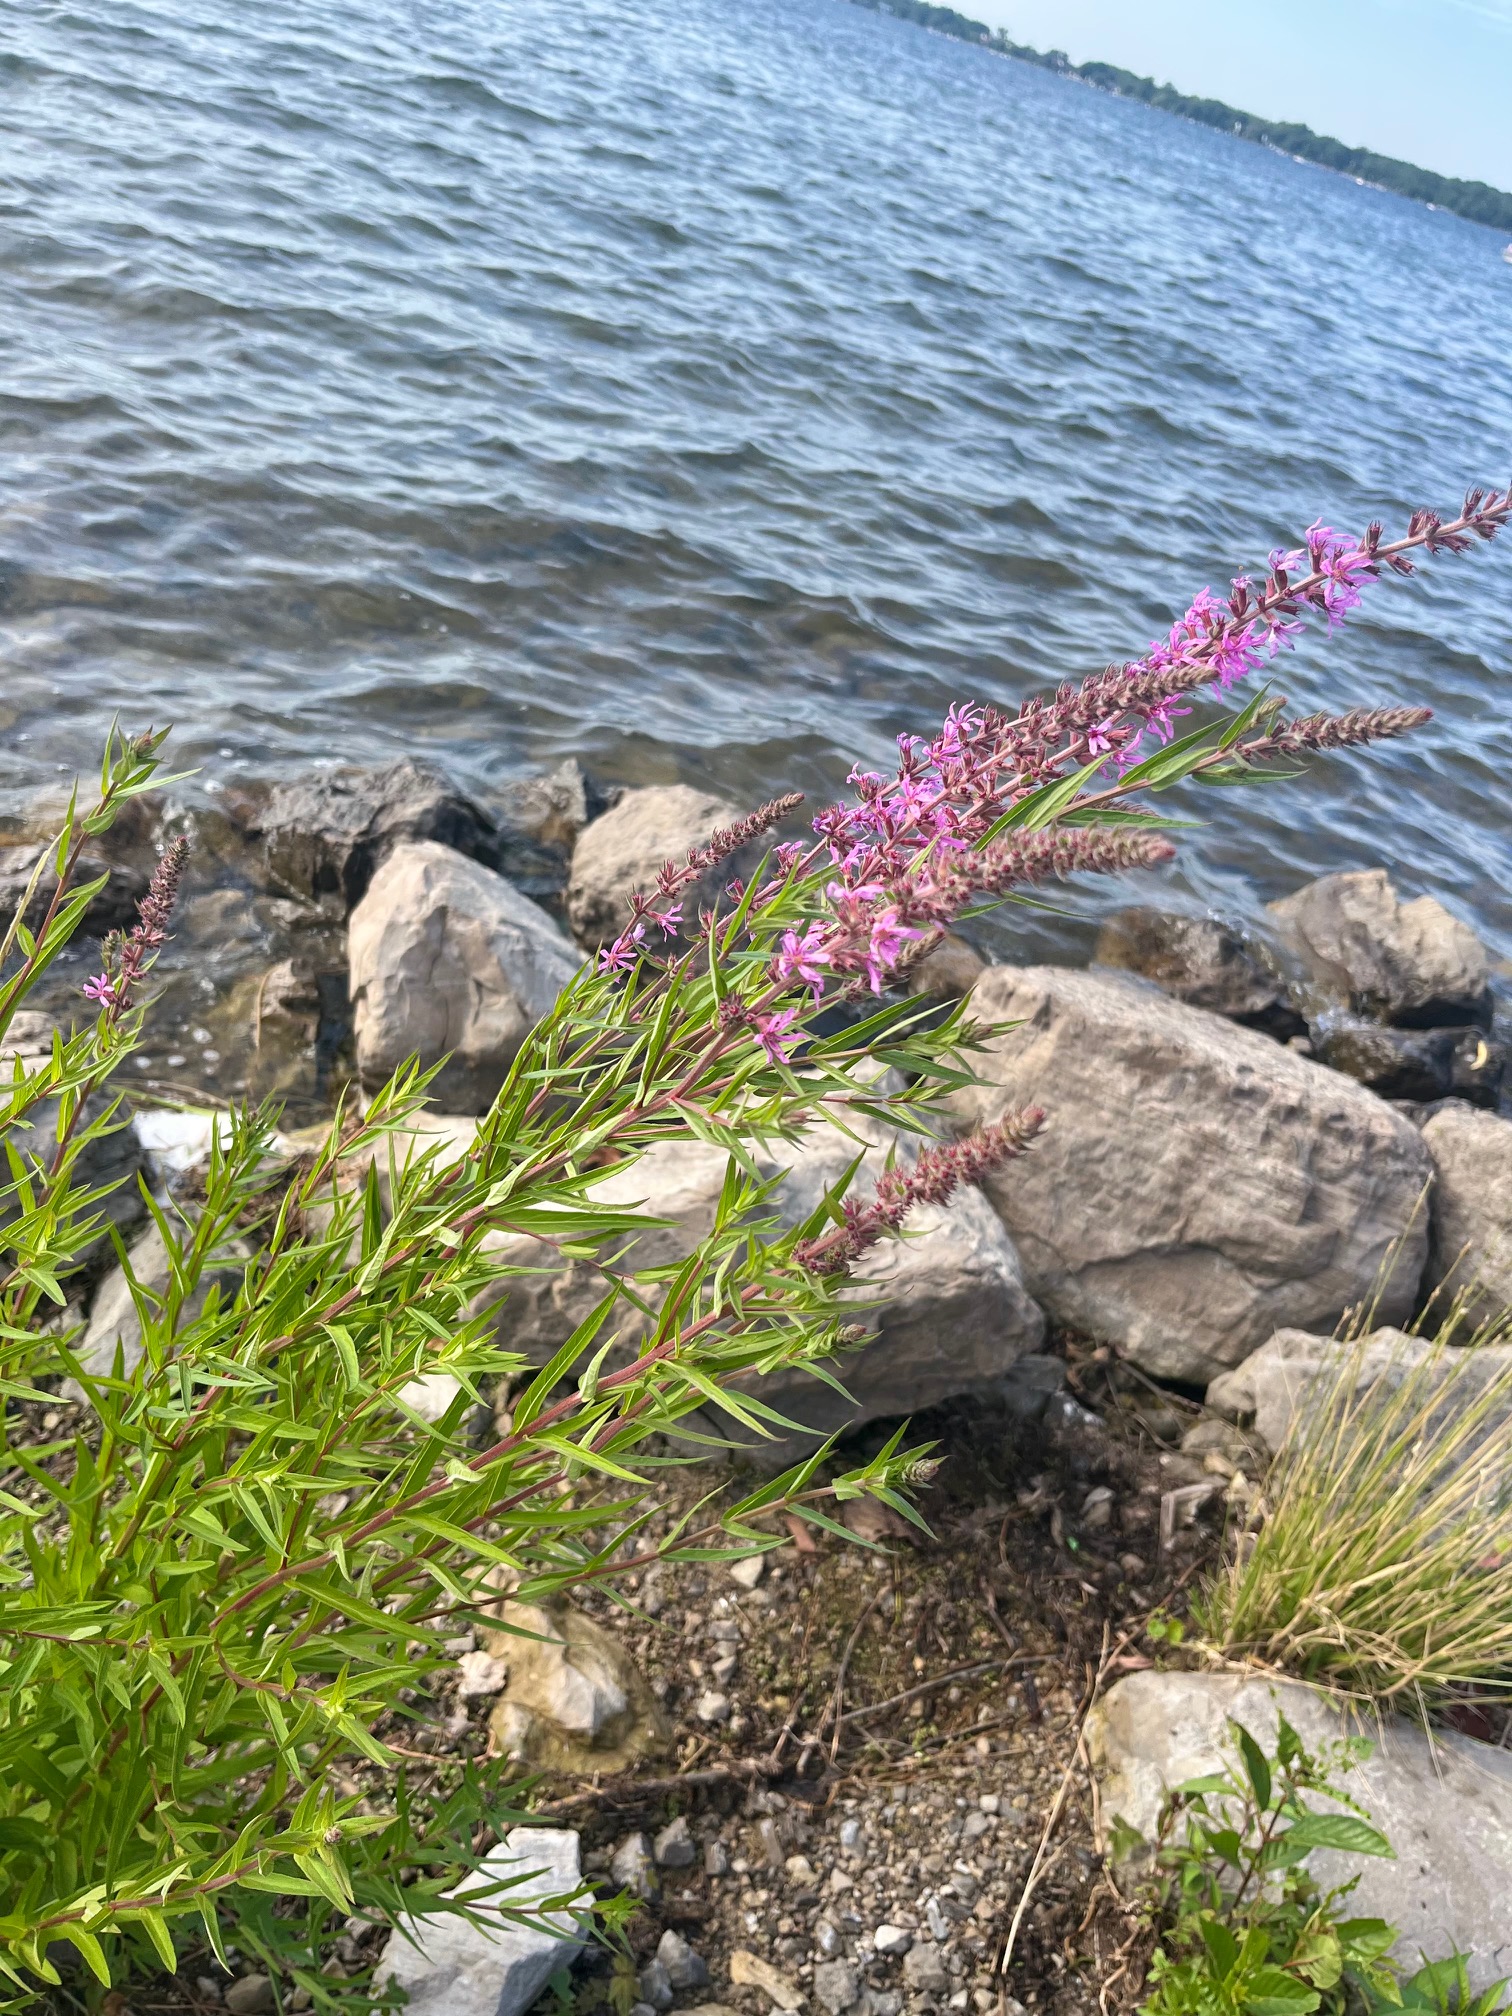
See how the rocks and dirt on the background and foreground stand out and distract from the image. We want to make sure the focus of the image is only the flowers. Now lets try decreasing the Aperture to try to fix this:
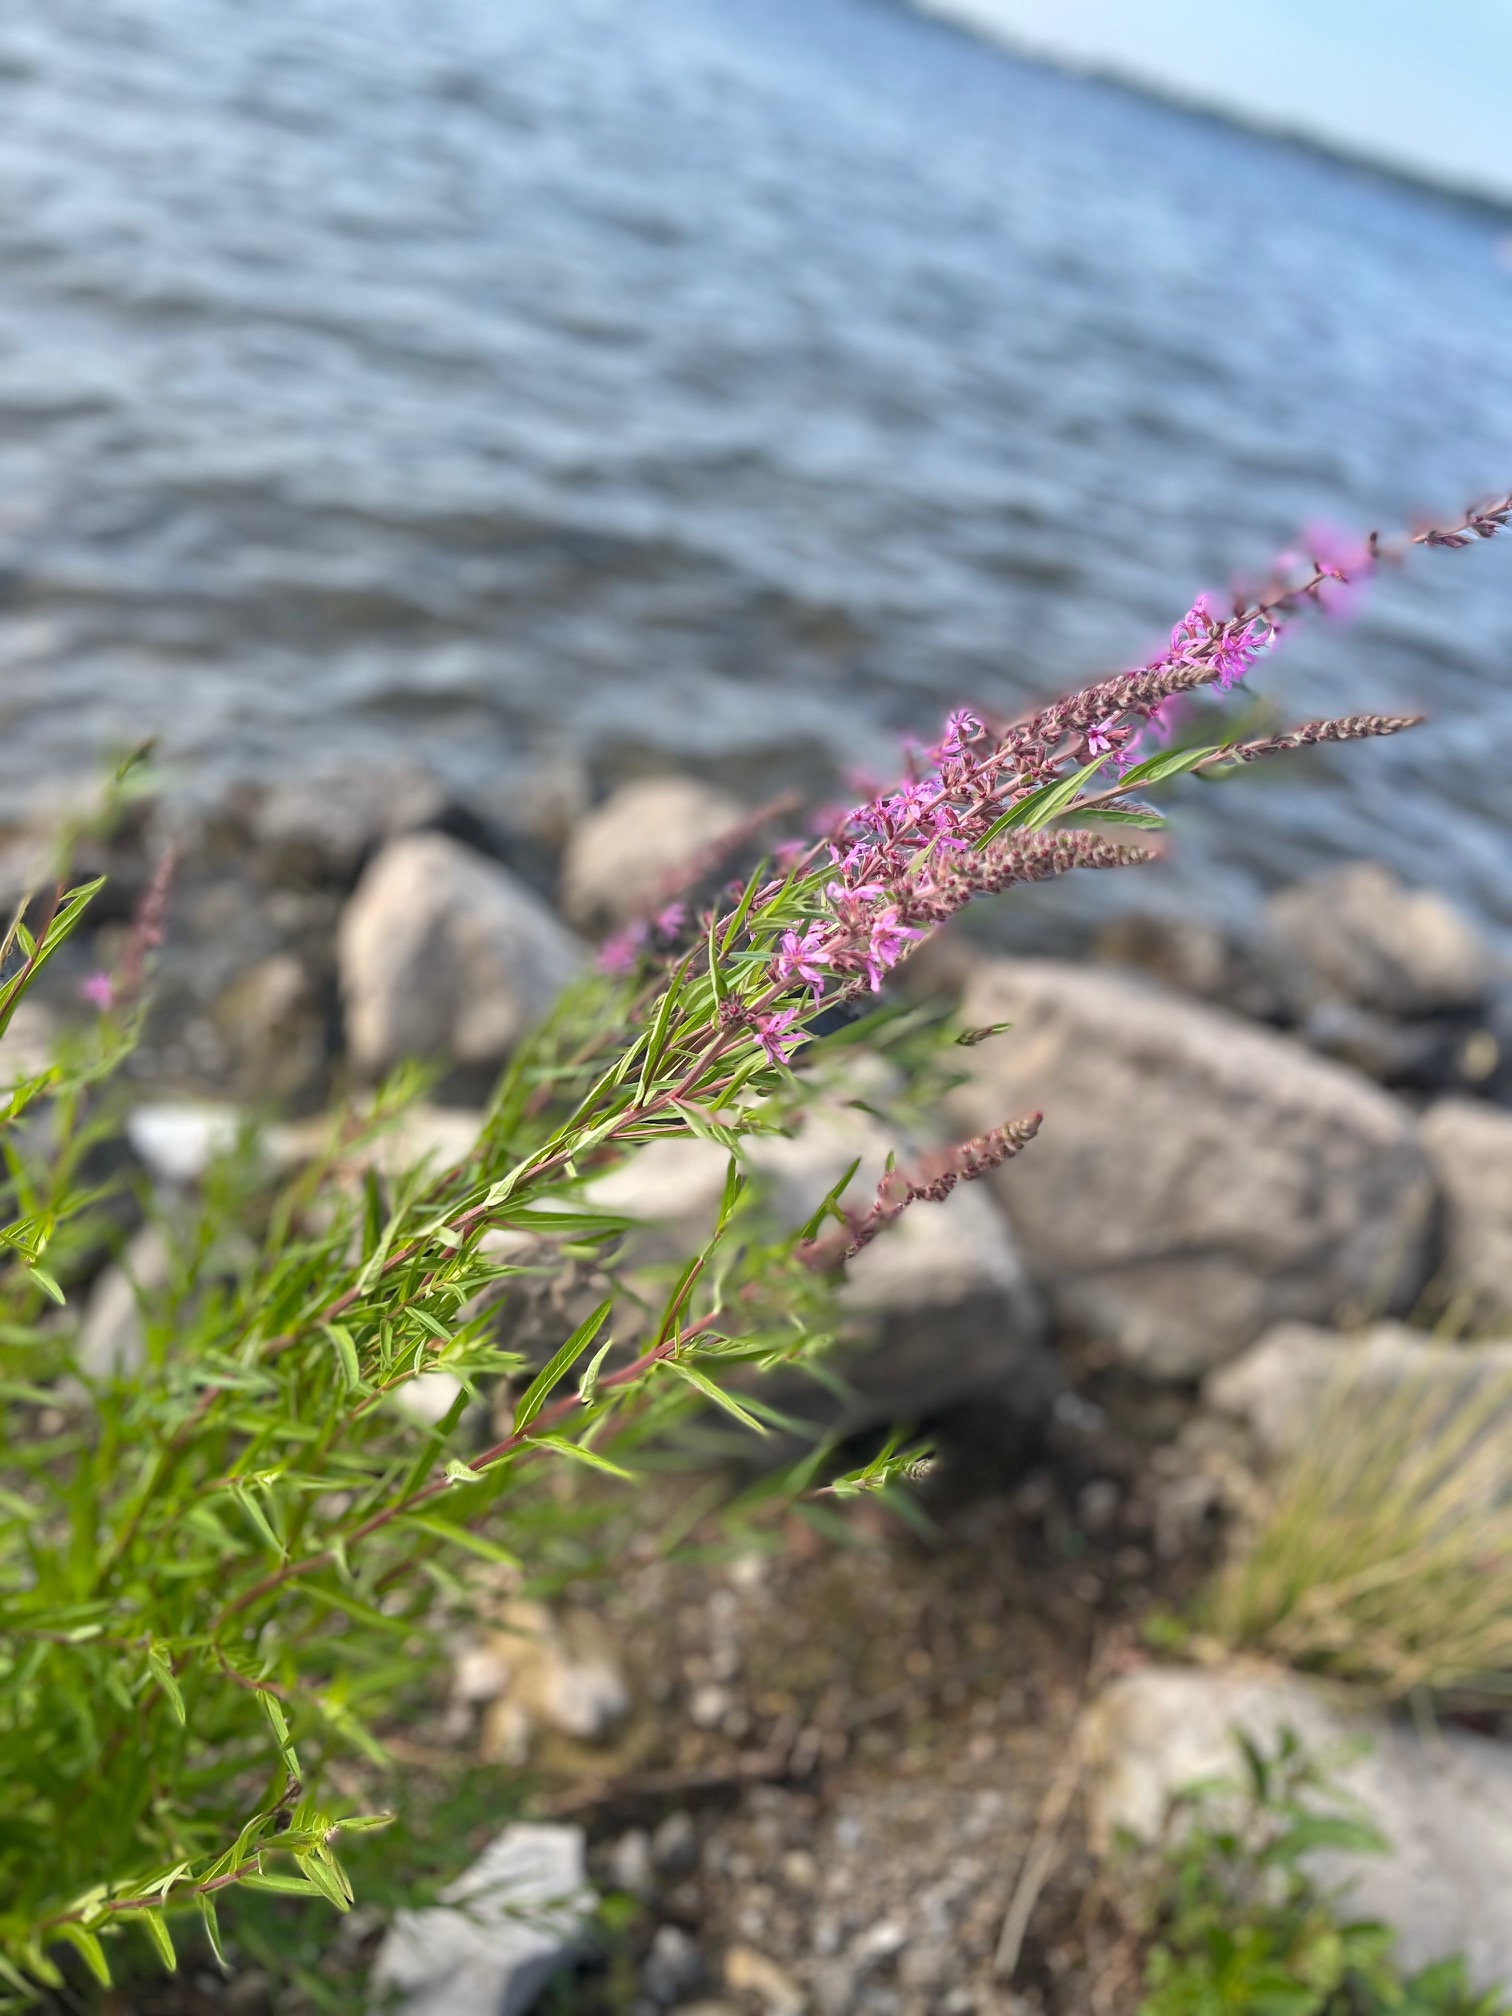
This new image emphasizes the object of the photography. Notice that the subject is very clear, making sure the background is not distracting the viewer.
Shutter Speed
Shutter Speed is exactly what the name implies: the speed of the camera click. This is especially important when taking photos of moving objects. The rules of Shutter speed are based upon the photographer's intent. If the photographer wants to capture an sharp image of a certain moving object, it is better to use a faster shutter speed. However, if the photographer wants clearly show encapsulate the motion of the object through blur, a longer shutter speed would be more appropriate.
Shutter Speed is measured in the fractions of a second. See the table below for recommendations by Photography Life on what Shutter Speeds to use for different scenarios:
| Situation | Shutter Speed |
|---|---|
| People Who Pose and Stay Relatively Still | 1/125 |
| Moving People | 1/200-1/800 |
| Landscape: Blurring Water Movement | 1-10 seconds |
| Landscape: Some Things Moving | 1/125 |
| Perched Birds | 1/320 |
| Birds In Flight | 1/2000 |
| Macro Photography | 1/320 |
| Flash Photography | 1/200 |
| Flash Photography | 1/200 |
| Astrophotography | 10-25 seconds |

NOTE:
Unlike ISO and Aperture, Shutter Speed is not controllable on phones. You may need to pay for and download a photography app or use a traditional camera to explore Shutter Speed.
Composition
Composition deals with the placement of objects inside the photograph. Although there are many compositional techniques that can be used, the photographer naturally applies many of these techniques without even thinking about it. There are a few notable techniques that are worth mentioning: off center your subject, make use of perspective, and balance your photograph.

NOTE: For a beginner, it is best to first focus on ISO, Aperture and Shutter Speed as they have the biggest impact on photograph quality.
Off Centering
Your Subject does not always have to be directly at the center. There are several ways to position your subject so that it is not at the center. You can use the rule of thirds, the golden ratio, or even just eyeball it! The example below uses the rule of the rule of thirds to help compose the picture!

Perspective
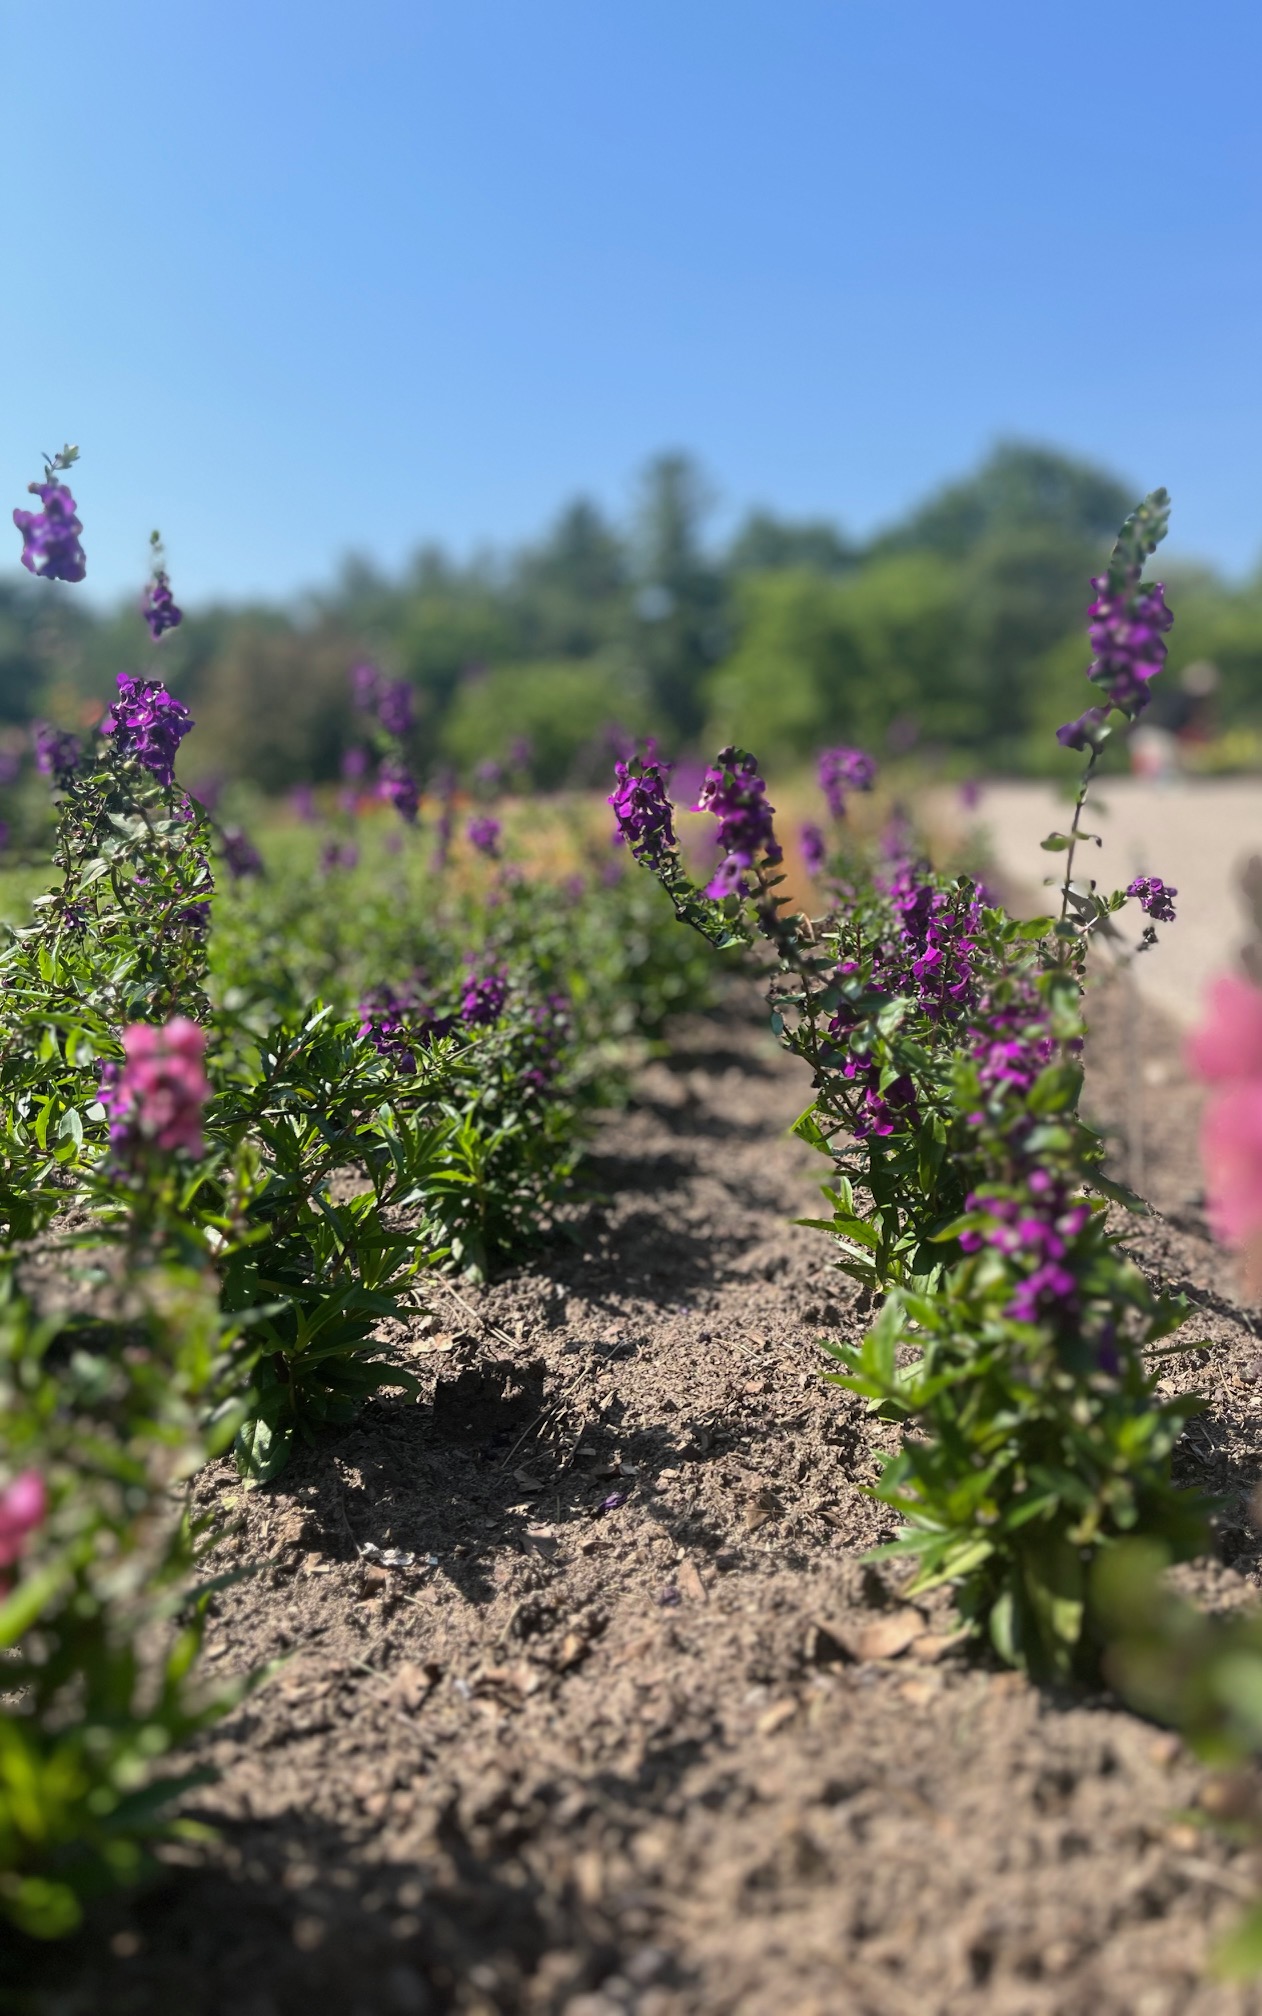
Make sure you move your camera to get the shot that you want. Perspective can make a huge difference for the viewer and can help emphasize your subject. In the example below, the camera is placed between the flowers enlarge the flowers and show the path between the rows of the flowers.
Balance
Make sure your image is balanced! You do not want to keep too many things on one side of the photograph and leave the other side empty. Take the image below. The creases and the pencil case are on opposite sides of the picture to make the image completely filled: the case is at the bottom-left while the creases are at the top-right.

Photography Tips
Remember, these are just tips to get you started and open up more possibilities. They are not mandatory. That being said, feel free to explore those that interest you.
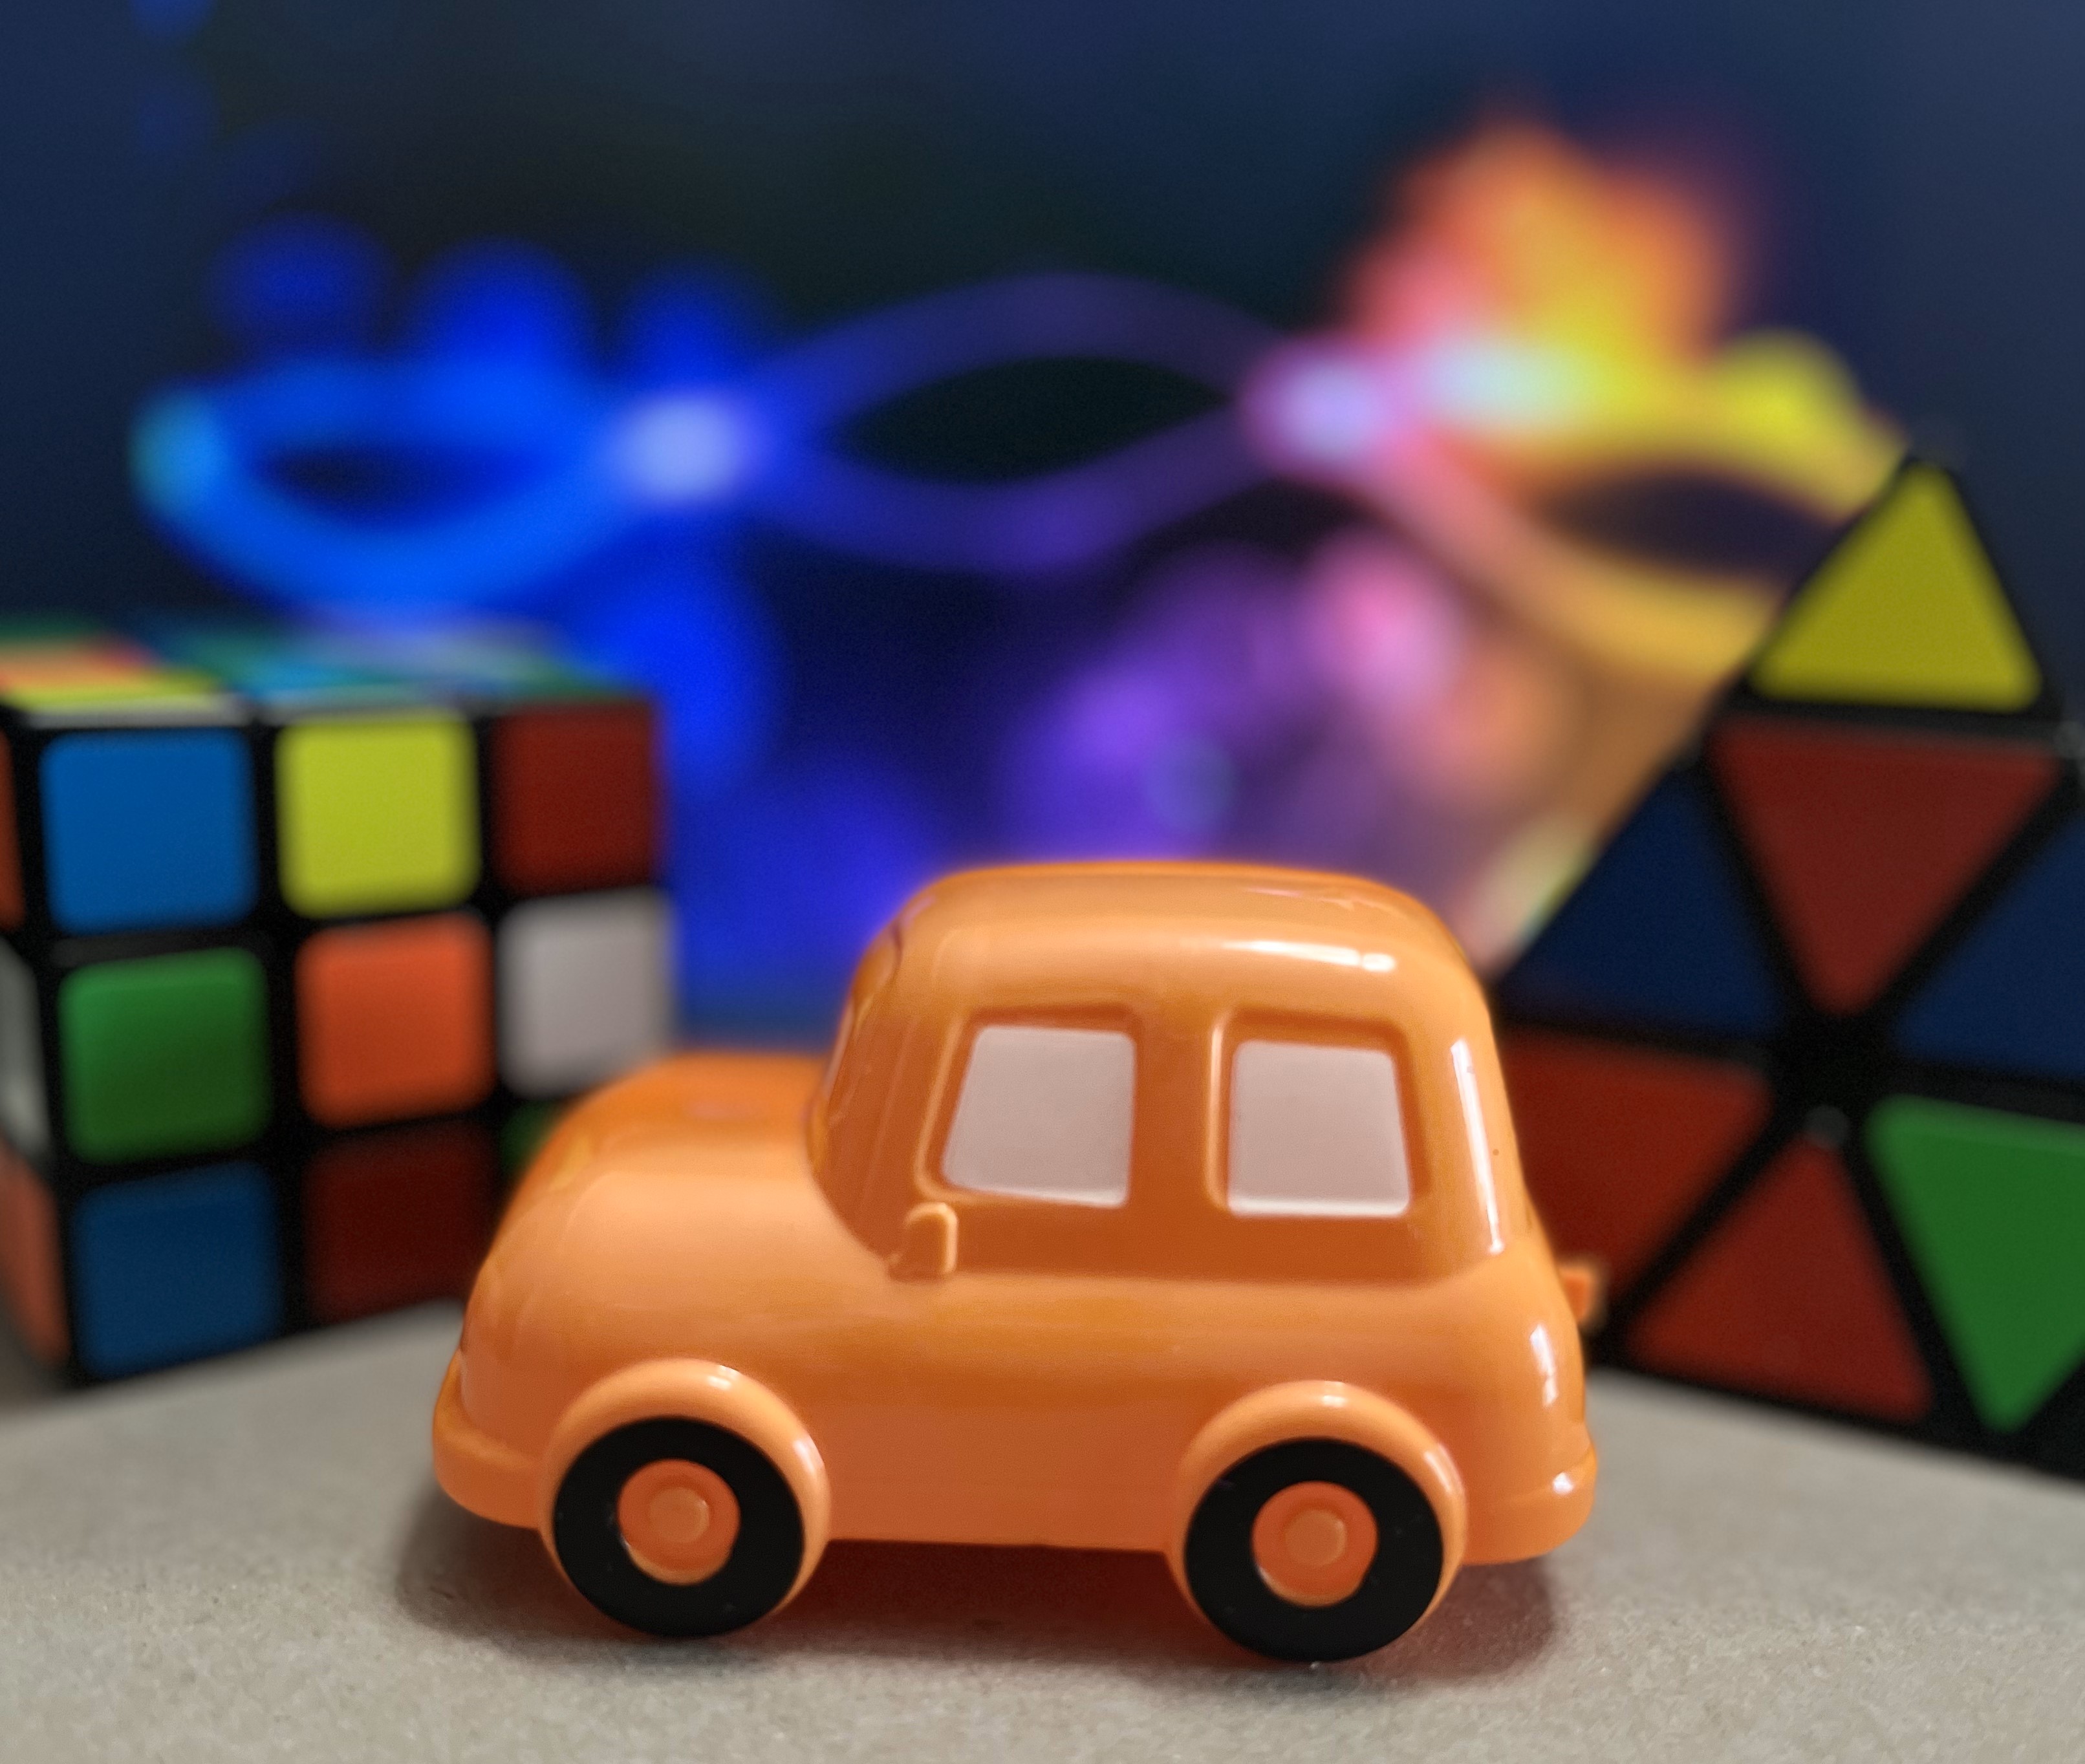
Use Other Devices For Backgrounds
This can create a cool effect and adds to your photograph.
Watch The Edges
An unnecessary detail, especially when it's on the edge of your photograph. An otherwise great photograph can be ruined by it.

Edit Your Photos
Be careful not to over-edit your photos. At the same time, it is okay to crop out or blur distractions.
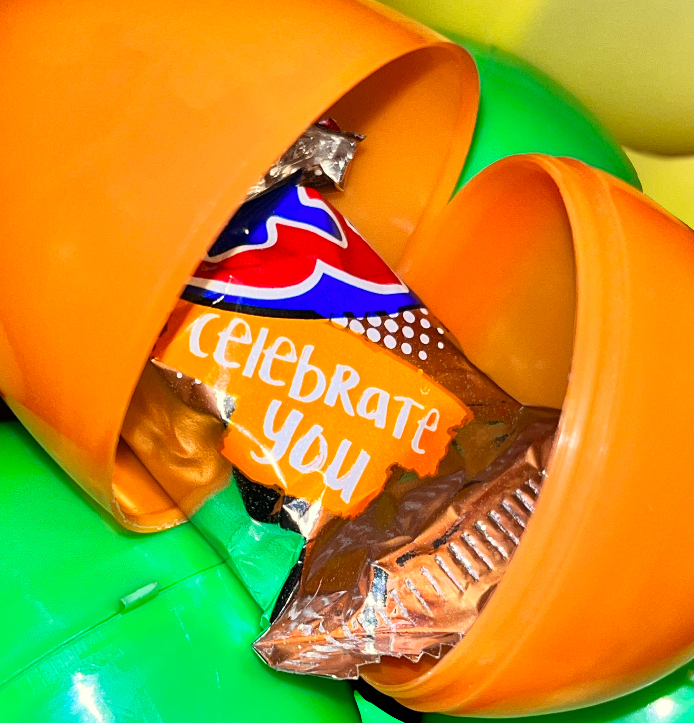
Use Filters
Filters can drastically change the mood of your photo, so use them to your advantage!
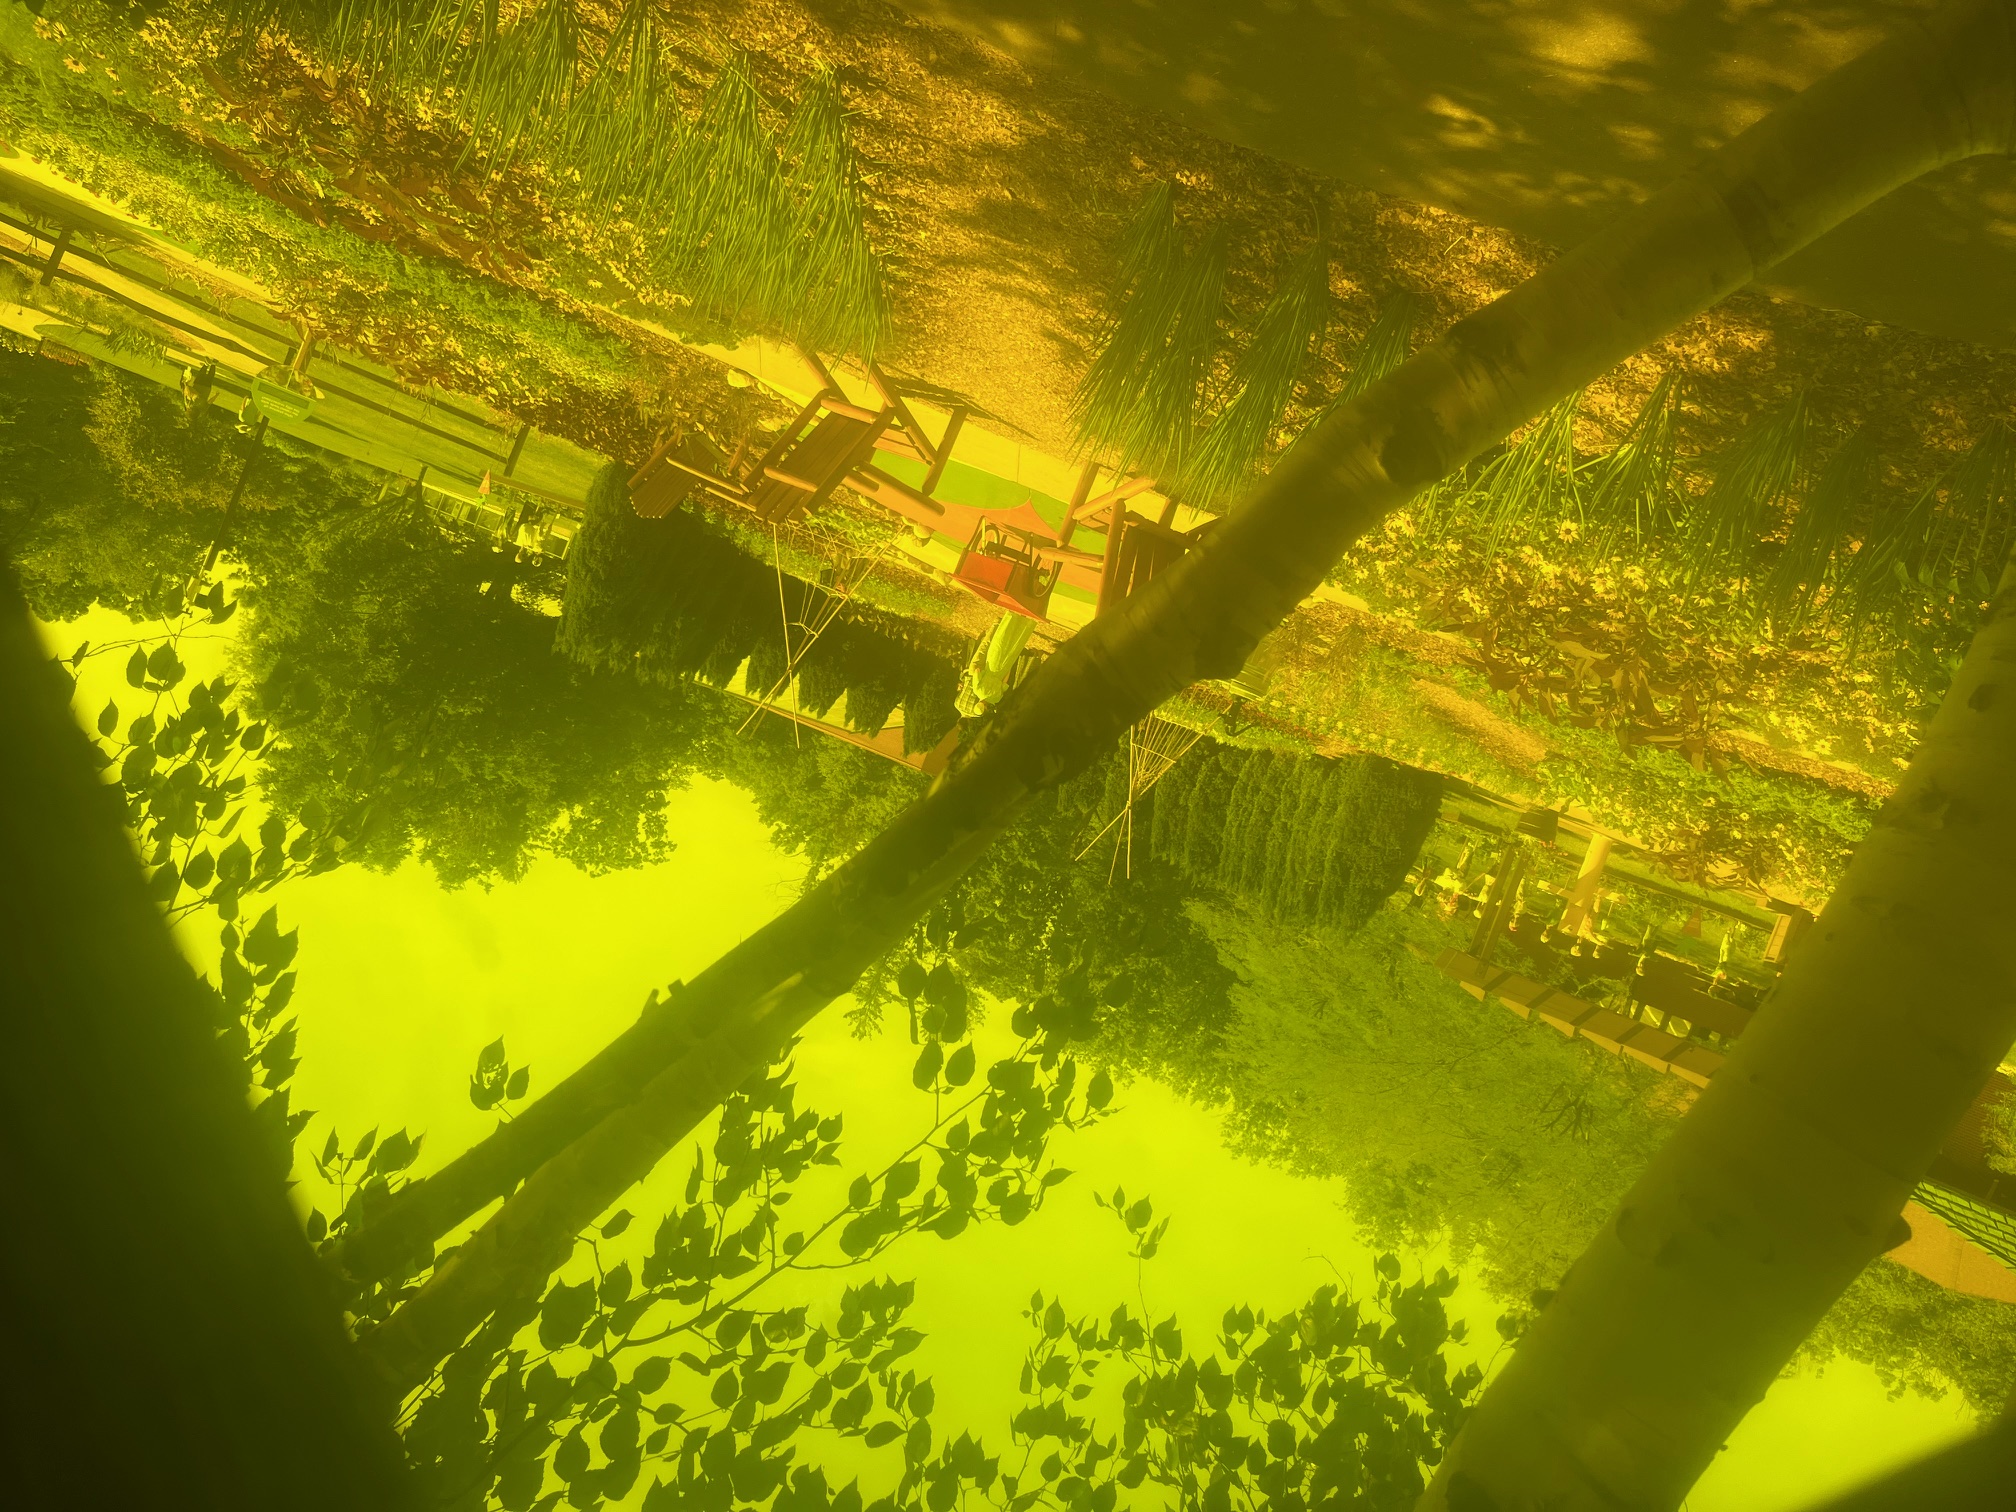
Watch Highlights
Make sure you don't let the highlights of your photo dominate and ruin your image.
